


For one of our most recent STEM classes at co-op we took advantage of Dollar Tree jellybeans and an overabundance of toothpicks. The kids have had so much fun with our hands-on challenges and learning about the best ways to build structures that are weight bearing and can stand a little pressure.

Initially we divided up into four teams of 2-3 students each but gave the kids the option of combining with one other team to build their jellybean and toothpick structure. The kids decided that was definitely the better option and quickly moved together. They also realized it provided them with more jellybeans for eating, should they not used two entire bags for their structure (smart kids).

One of the BEST things I heard came immediately after the kids combined (and while I eavesdropped on their strategy talk). Both teams were discussing the best way to build a structure that would support the most weight and still have a good height. From each team, the words “a triangle allows the strongest support” was heard. (Yes, they are listening!!)

KEVA Planks were used as a sort of ‘holding pen’ for one of the teams – they didn’t want to risk floor contamination of jellybeans that may possibly be edible later. The other team obviously had no regard for where their beans ended up.


Both teams worked with a triangular setup for their structures, although one took a more systematic approach, setting up an assembly line of sorts. Team members started the process of putting a toothpick into a jellybean and creating piles, while others created pre-made triangles for another team member to work into their structure.

Overall both teams had a blast with this challenge. One structure was definitely more organized and that may be the team that wasn’t distracted by eating jellybeans along the way.

While Team 1’s structure was taller overall, it came to a definite peak and would not support as much weight when added (we stacked file folders on each structure to see how many it would hold). Team 1 eventually lost their triangular structure as their building continued( see the note on jellybean consumption), lost focus, and that ended up being their downfall.

Team 2 had a much wider and elaborate base design (neater overall) thanks to their assembly line process. While their structure didn’t reach quite as much height as Team 1’s design, it supported more than twice the weight since it was able to more evenly distribute the weight when stacked.
(And jellybeans were consumed by all).
Such a fun and sticky challenge. Incidentally, picking up a box of 500 toothpicks that are spilled can be pointy and painful.
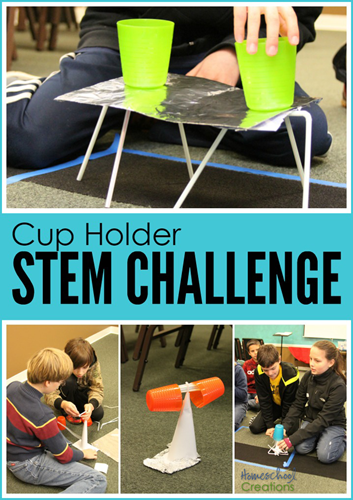
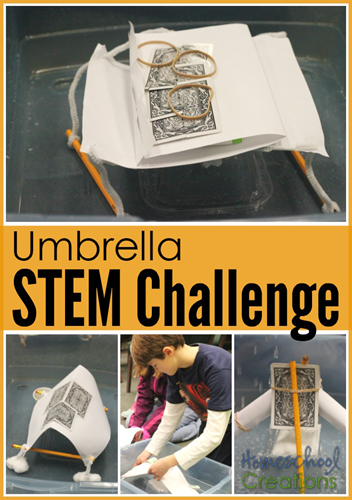
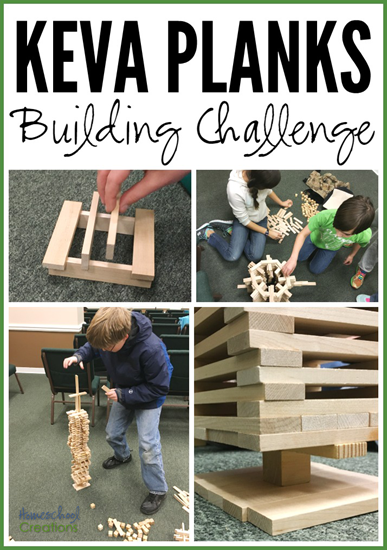
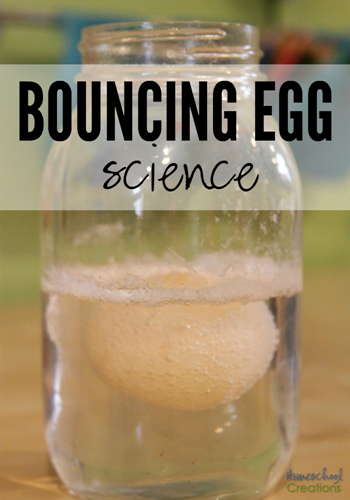
Additional STEM Challenges
 |
 |
 |
 |


")
")
")
")
")
")


 The printables shared on this site are FREE of charge unless otherwise noted, and you are welcome to download them for your personal and/or classroom use only. However, free or purchased printables are NOT to be reproduced, hosted, sold, shared, or stored on any other website or electronic retrieval system (such as Scribd or Google docs). My printables are copyright protected and I appreciate your help in keeping them that way.
If you download and use some of my printables and then blog about them, please provide a link back to my blog and let me know - I'd love to see how you are using them! Please be sure to link to the blog post or web page and not directly to the file itself. Thank you!
The printables shared on this site are FREE of charge unless otherwise noted, and you are welcome to download them for your personal and/or classroom use only. However, free or purchased printables are NOT to be reproduced, hosted, sold, shared, or stored on any other website or electronic retrieval system (such as Scribd or Google docs). My printables are copyright protected and I appreciate your help in keeping them that way.
If you download and use some of my printables and then blog about them, please provide a link back to my blog and let me know - I'd love to see how you are using them! Please be sure to link to the blog post or web page and not directly to the file itself. Thank you!