

We are barely finished with this school year, and over the last few weeks (ok, months) I’ve been piecing together what we will be doing during the upcoming school year. One of my initial plans for this past year was to work on world geography with the boys. Unfortunately, I went a little overboard in my mind and it was put to the side – mainly because I wanted to reinvent the wheel and put together a billion ideas (which were all good) into creating our own curriculum.
Rather than running myself ragged – and truthfully in an effort to keep it more simple – I’ve decided to use something that is already pre-planned – Elementary Geography and Cultures from Masterbooks. It’s a curriculum I’ve been eyeing for quite some time (thanks to my friend Carisa) and includes the books Passport to the World and the Children’s Atlas of God’s World . Yes, I will likely end up reworking some of my past geography printables and also create a few additional go-alongs for what we are doing, BUT I am so very excited about this one year world geography plan.
Now, while having a curriculum framework to follow is great, the most effective way to teach our kids geography is through the hands-on tools that go along with ANY curriculum. Here are 10 tools for teaching geography – all things our family has used (and will use again) to keep learning fun.
10 Tools for Teaching Geography
1 // Read Lots of Literature (and then some more)
One of the things we enjoyed the most our first geography go-round were the many books that are available based on the countries we studied. From missionaries that served in the country to picture books about artists or scientists, there is an amazing abundance of books to read and learn through. If you’d like to see the books we read through before, check out this page and click on the continent link to see favorites by country.
2 // Play and Learn Music
Music can be one of the best tools to use for children to memorize things. Our girls used Geography Songs and we’ll use that again for learning countries, bodies of water, and continents.
Also spend time listening to composers who were born in the different countries or music that is native to the geographical areas. Take a trip to your library and check out a few CDs or have fun browsing YouTube to see traditional dances.
3 // Create Art

Learn about artists native to the country you are studying or special art styles that are based in a geographical region. When we were studying the Amazon, we used chalk pastels to draw frogs, toucans, and other animals from the rainforest. They were some of our favorite drawings we’ve done!
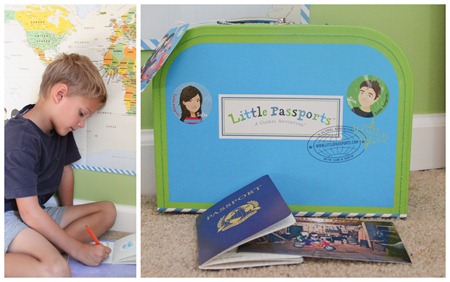
4 // Create Continent Boxes
Put aside and group all of the hands-on materials you collect into boxes (or bags) based on countries or continents. Over the years we’ve collected many fun things (some from our subscription to Little Passports) and also some new materials (I am absolutely in love with TOOBS and their animals and landmark figures). I’ve purchased seven photo storage boxes to keep all our materials in one spot. (Thanks to Counting Coconuts for the idea.)
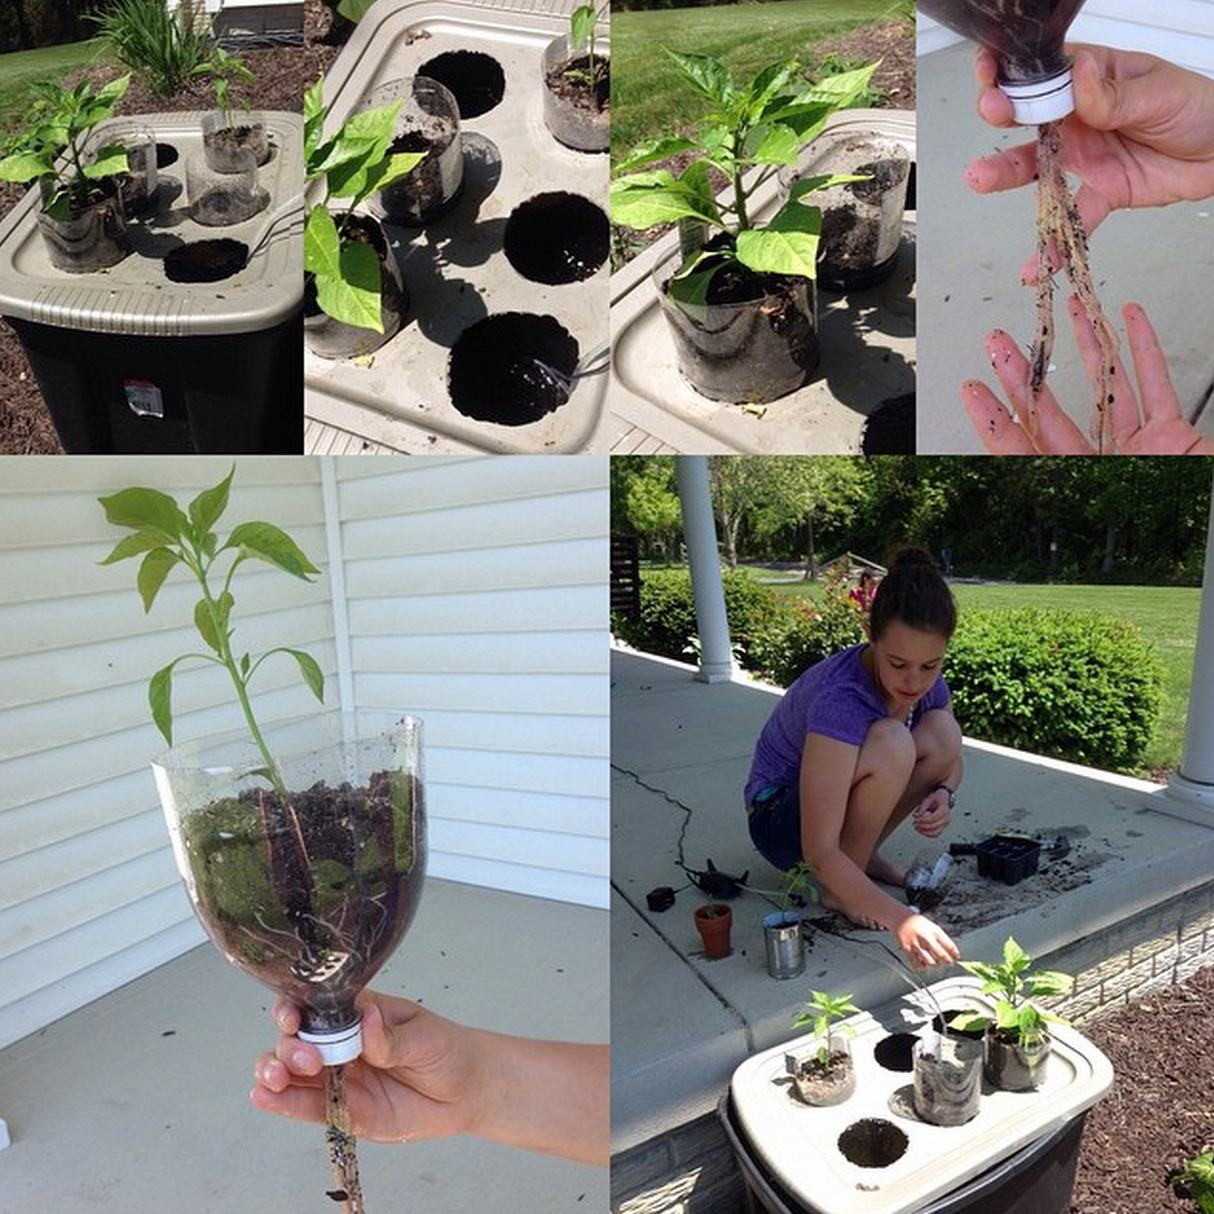
5 // Learn about the Animals
Include a little science learning into each geographical area you study by looking at animals that are native to to that country. Our girls loved learning about kangaroos and koalas when we studies Australia, peacocks when we learned about India – and there are so many more. Learn about their habits, diet, and classification. We often created lapbooks and those stayed on our shelves to review for years to come.
6 // Eat and Cook a Special Meal Together
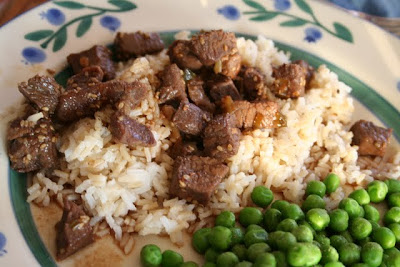
Cooking is not only a life skill for kids to learn, but it can be a memorable way to learn about a country. Depending on the country you are studying, pick a recipe or create a meal that would be native to that country (granted Antarctica might be a little hard…), but snow cones might be a favorite! Every now and then we would treat the kids to a special meal out if we had a great restaurant in town, because sometimes the cultural experience is equally (or even more) fun. If Pinterest is too overwhelming, the book Eat Your Way Around the World is full of recipes to try.
7 // Put a Puzzle Together
While you are reading out loud or keeping fidgeting kids busy, pull out a puzzle and work on it together. We have all of the GeoPuzzles and absolutely LOVE them. Rather than being regular shaped puzzle pieces, each piece is shaped like the countries within that continent.
8 // Make Lego Creations

Legos may never leave our home. Our kids have a plethora of them, and we will definitely be incorporating them into our geography time filling out blank outline maps, building famous landmarks…or getting a good laugh in when the kids depict the most hilarious historical scenes with LEGOs. (Sometimes you just have to laugh even though beheading are no laughing matter.)
9 // Draw Through the Countries
Have a child that loves to draw? Pull out the Draw Write Now series and let your kids illustrate their way around the world. Use the Draw and Journal pages to draw a picture of an animal or landmark in that country and write down a few facts to go along. Our kids love to draw while I’m teaching – and it can help them remember facts better as well. Geography Through Art is another great book that includes art projects using different mediums – from all around the world.
10 // Use Geography Printables
If you know me well, you’ll know that I love creating printables that help our kids in the learning process. Over the years we have used a variety of printables, both ones I’ve pulled together and ones from other blogging friends. Here are a few free geography resources:
- Children Just Like Me notebooking page
- Geography Notebooking Sheet
- Country Flag cards
- Homeschool Share continent studies
- Geography Country Cards from 1+1+1=1
Those are a few of the ways we incorporate fun into our geography studies – how has your family expanded geography learning together?


 boy, 4th grade
 girl, 5th grade
 boy, 5th grade
 boy, 6th grade
 girl, 6th grade
 girl, 7th grade
 girl, 8th grade
 boy, 8th grade
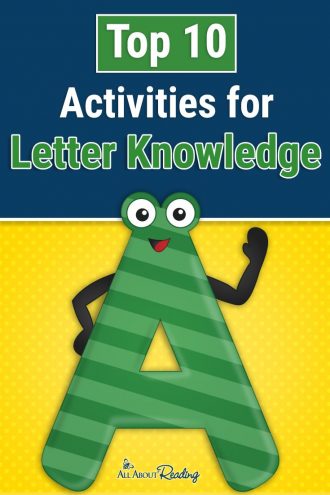


 The printables shared on this site are FREE of charge unless otherwise noted, and you are welcome to download them for your personal and/or classroom use only. However, free or purchased printables are NOT to be reproduced, hosted, sold, shared, or stored on any other website or electronic retrieval system (such as Scribd or Google docs). My printables are copyright protected and I appreciate your help in keeping them that way.
If you download and use some of my printables and then blog about them, please provide a link back to my blog and let me know - I'd love to see how you are using them! Please be sure to link to the blog post or web page and not directly to the file itself. Thank you!
The printables shared on this site are FREE of charge unless otherwise noted, and you are welcome to download them for your personal and/or classroom use only. However, free or purchased printables are NOT to be reproduced, hosted, sold, shared, or stored on any other website or electronic retrieval system (such as Scribd or Google docs). My printables are copyright protected and I appreciate your help in keeping them that way.
If you download and use some of my printables and then blog about them, please provide a link back to my blog and let me know - I'd love to see how you are using them! Please be sure to link to the blog post or web page and not directly to the file itself. Thank you!