

EEME is a blog sponsor and we received this product free for the purpose of reviewing it. All opinions expressed are my personal, honest opinions. You can read my full disclosure policy for more details.
One of the hardest things about receiving something fun to build is having the patience to get to the finished product.
Especially when it’s going to be something fun. Like your very own robot.
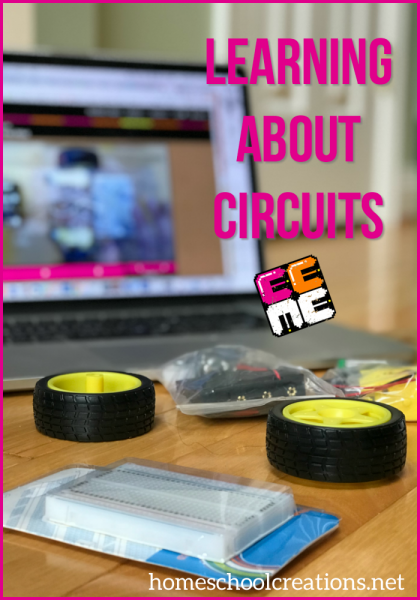
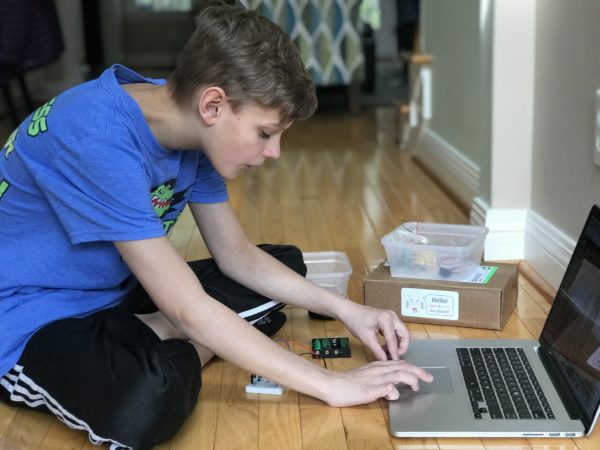
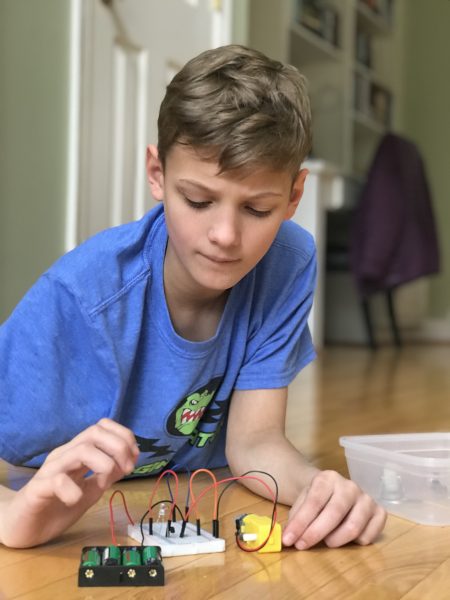
A few years ago Zachary had the opportunity to build Q the Robot from EEME and Kaleb is such a hands-on, STEM-loving boy, we wanted him to have the same opportunity. The process of building Q isn’t just snapping a few pieces of wiring together – it’s a chance to learn about breadboards, building circuits, how motors work, and so much more!
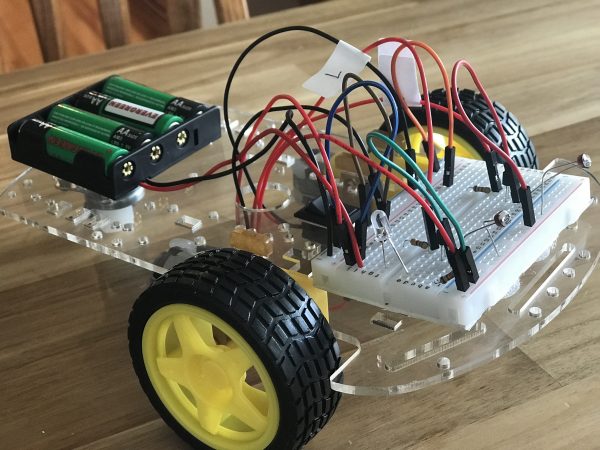
Q the Robot is a project kit that guides your child through the process of building a 3-wheeled robot who follows light. He is the first in a series of robotics projects from EEME – and there is no coding required to get started! Once completed, Q follows light around using two sensors, or photo resistors. When light is shined directly onto the sensors, Q turns to follow the light.
Building our Robot
Because there is so much to learn with Q the Robot (and even more kits build on this one base project), we’re going to share a little bit about what we learned in the first half of our building – the bulk of the steps needed to get Q moving and rolling, but before the entire body is constructed: circuits, the breadboard, motors, and transistors – and how they all work together.
One of the things I love about EEME is that they offer FREE online lessons for your kids to view. If you don’t know a thing about electronics, don’t worry. There are step-by-step videos that will walk your child (and you) through the process, and that includes explaining all the various parts and exactly what they do.
(Ask me how I know.)
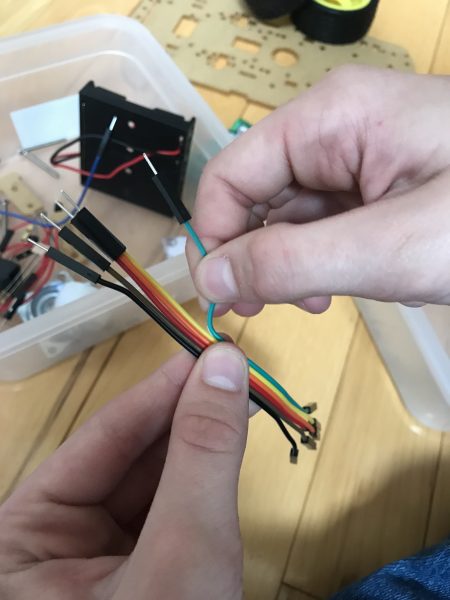
Since we have worked on Q the Robot before, one thing I will note is there have been some upgrades that make the entire process simpler for kids to work on. Rather than having to strip any wires, they now provide a few different components, such as wires with pre-installed plugs, that are easier for kids to manage (thank you!!). The overall project functions the same, but for kids who may get frustrated easily, these changes are perfect.
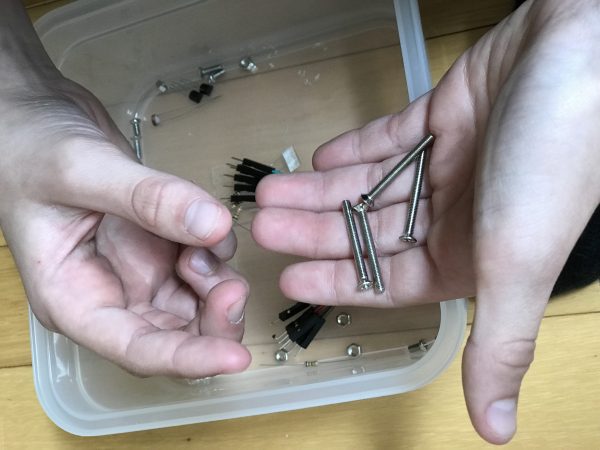
Step one was sorting all of the pieces and making sure we had the correct number for everything (we did). We also gathered any additional supplies we might need (Phillips head screwdriver, a piece of paper, and scissors).
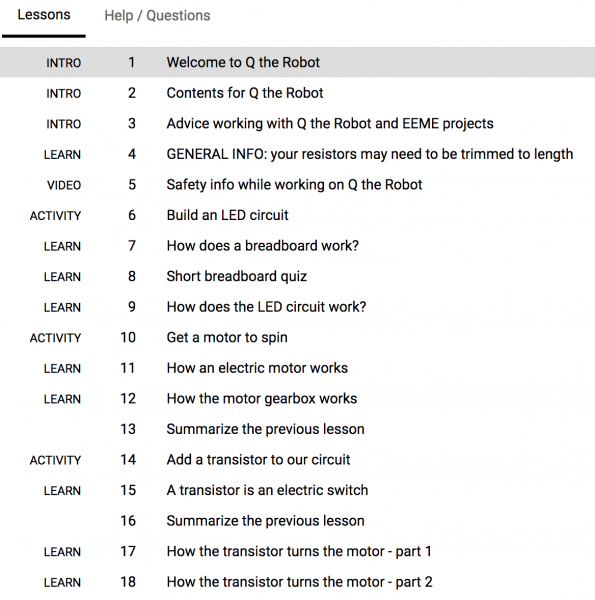
Each of the 35 video lessons for the Q the Robot project are 5 minutes or less in viewing time, some even around the 2 minute mark. We broke up our lessons over the course of three days and spent on average about half an hour to 45 minutes working each day.
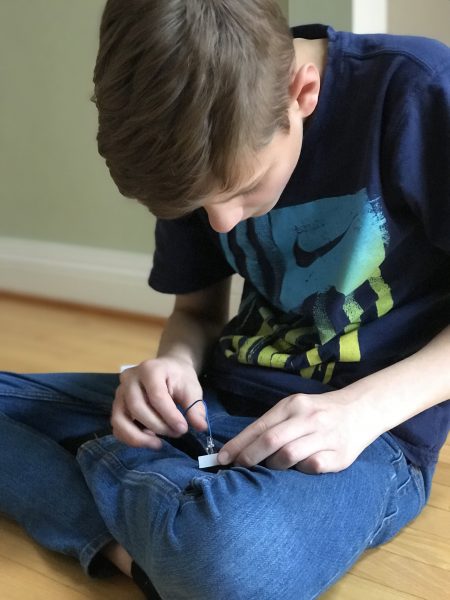
After sorting all the pieces, Kaleb took a few minutes to build an LED circuit (lesson 6) so he would know when Q was on or off. One thing that is great about this lesson is learning how to essentially mark points on a graph (find hole 4e, etc…).
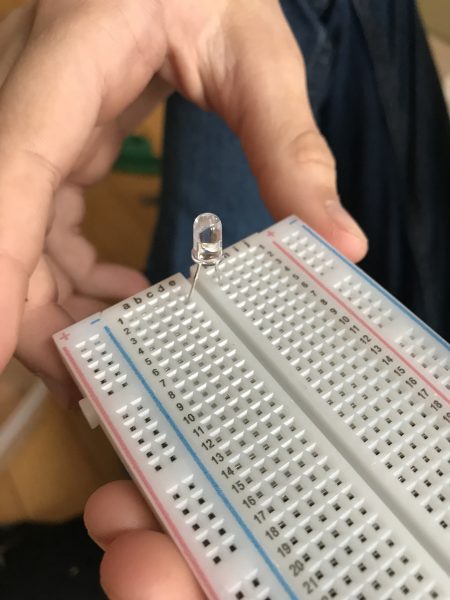
Kaleb next learned about breadboards and how the various holes are connected (lesson #7). For example, everything you see above in row 2 (2a, 2b, 2c, 2d, and 2e) are all connected. There are also four buses (two on the top and two on the bottom between the blue and red lines).
A metal bar under each hole grouping in a row connects them together. You can connect Row 1 on the bottom half of the board to Row 1 on the top half of the board by inserting one half of a prong into each half and completing the circuit.
One thing that I think is fabulous about this program are the intermittent ‘quizzes’ that are given to make sure kids understand the concepts they are learning.
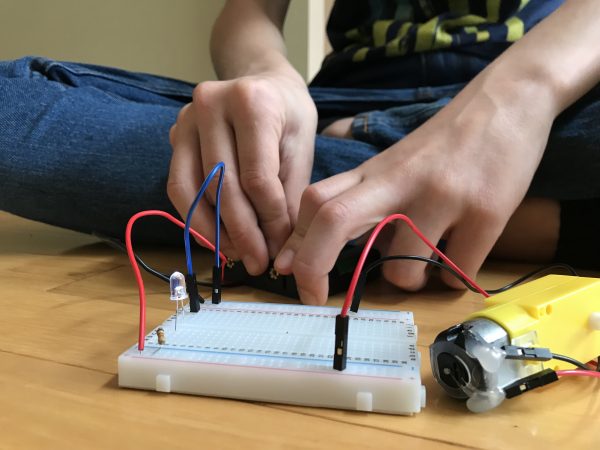
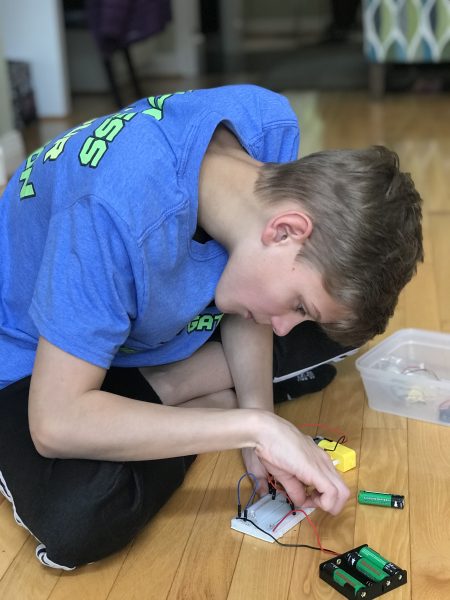
After learning the basics of the breadboard and hooking up our battery pack to make our LED light work, we moved on to motors and how they work (lessons 10 & 11).
Initially our motor didn’t spin, so Kaleb was able to rewind the video, double check his wiring (which was wrong), and fix the problem so his motor would work correctly. In this lesson we also learned how to make the motor spin in opposite directions based on how the wiring was done.
EEME Dad explains magnetism and how it affects the motors when electric current flows through – and how flipping how the motor wires changes the direction causes the magnetic field to flip as well (it’s fun to learn these things!).
Our second day we looked more into how the motor gearbox works, and while this is something Kaleb was a little more familiar with, it was a great review in understanding both of the motors.
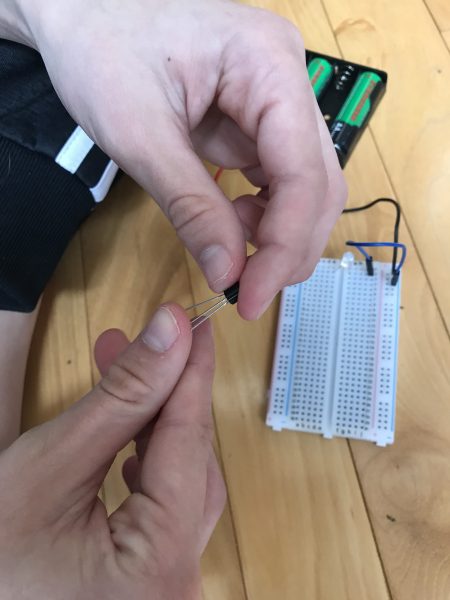
Next step: transistors (lesson #14) and adding them to the circuit. Once the prongs were splayed they were placed on the breadboard.
He then added a few resistors to the board (learning how to make L-bends), gradually adding the motor wires as well to complete the circuit and get one of the motors turning.
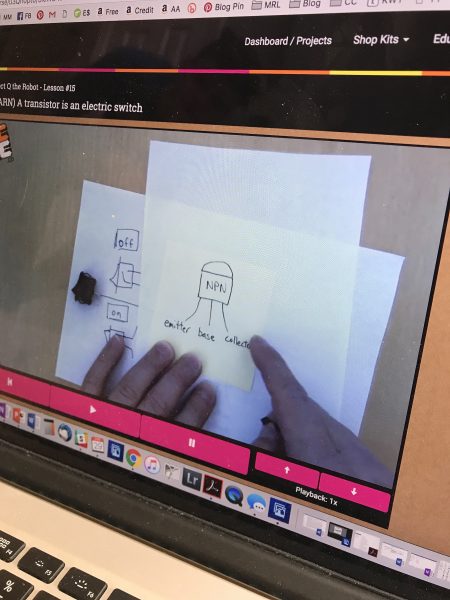
And rather than just telling the kids to use the transistor, EEME Dad explains exactly how they work (somewhat similar to a mechanical switch). He also explains how the transistor is turned “on” and “off”, allowing the current to flow through.
Our last few lessons covered how the transistor turns the motor (lessons 17 & 18) and why the transistor gets hot. This was another great stopping point for us since Lesson 20 gave Kaleb the chance to summarize what he had been learning.
Kid that are able to can type and submit their answers in the lesson. Since I was with Kaleb, he summarized the process to me and any part he wasn’t quite sure on, we quickly reviewed.
One of the things I appreciate about the lessons are the metaphor examples EEME Dad provides for kids – for example, comparing the resistors to a water dam, with the water levels represent voltage. He walks kids through the circuits and explains it in ways that are easy for them to understand.
Next week I’ll be sharing the rest of our Q the Robot project, but in the meantime, I’d encourage you to take a look around the EEME site. If you have kids in the 7-10 range, they have a monthly subscription option where each project focuses on a different electronic concept, but otherwise – go for Q!
What Mom’s Need to Know…
- Everything’s included – parts, wires, batteries are included in all every kit
- No experience needed – our online lessons to mentor, guide, and teach your kid (seriously, this is a lovely thing)
- Safety first – no soldering required, low voltage projects (the mom in me rejoices)
Meanwhile, kids are learning solid concepts and being challenged by building projects using REAL components. They may make mistakes, but in doing so, they learn to review and discover what they can do to make it better and work correctly.
Perfect for ages 10+
Time Required: 1-2.5 hours
Parental involvement: varies based on child
Start Learning With EEME
There are 3 ways to learn with EEME – FREE online lessons, their robotics kit series, and their electronics kit series.
- For free online lessons – families create a free account with EEME and use their web browser to interactively build and learn about electronics circuits.
2. Robotics series – The first kit of the series, Q the Robot, is a project where your child builds a 3-wheeled light-following autonomous robot. The online lessons associated with Q teach how robotics circuitry works.
You can purchase Q here.
3. Electronics series – electronics kits are purchased as electronics kit monthly subscriptions. A new bite-sized kit ships every month complete with all the electronic components needed to build a new project.
Each month’s project builds on the previous month’s knowledge and interactive quizzes, questions reinforce kids’ understanding of the why’s and the how’s.
Learn more about the electronics monthly subscriptions here.
Past EEME Projects
We’ve worked on several other projects from EEME. If you’re interested in learning more about their monthly subscription program, be sure to check out the below posts for more information:
- Project DIY Light Display
- Project Genius Light
- Project Attraction – building an electromagnet
- Project Amp
- Project Tentacle
- Q the Robot (Zachary’s project)


 The printables shared on this site are FREE of charge unless otherwise noted, and you are welcome to download them for your personal and/or classroom use only. However, free or purchased printables are NOT to be reproduced, hosted, sold, shared, or stored on any other website or electronic retrieval system (such as Scribd or Google docs). My printables are copyright protected and I appreciate your help in keeping them that way.
If you download and use some of my printables and then blog about them, please provide a link back to my blog and let me know - I'd love to see how you are using them! Please be sure to link to the blog post or web page and not directly to the file itself. Thank you!
The printables shared on this site are FREE of charge unless otherwise noted, and you are welcome to download them for your personal and/or classroom use only. However, free or purchased printables are NOT to be reproduced, hosted, sold, shared, or stored on any other website or electronic retrieval system (such as Scribd or Google docs). My printables are copyright protected and I appreciate your help in keeping them that way.
If you download and use some of my printables and then blog about them, please provide a link back to my blog and let me know - I'd love to see how you are using them! Please be sure to link to the blog post or web page and not directly to the file itself. Thank you!
Leave a Comment
You must be logged in to post a comment.