20 Best Tips

Art Chalk Pastels ~ Subject Spotlight

Subject Spotlight at Homeschool Creations

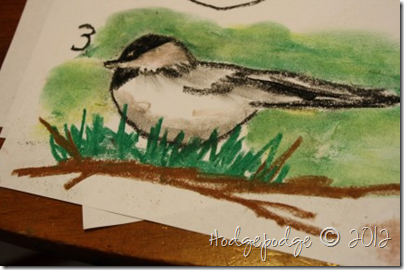
A few weeks ago I shared some links with you from HodgePodge for free chalk pastel tutorials. Because we’ve been learning about birds during our science time with Nancy Larson Science 2, it seemed fitting to try out the chickadee chalk pastel tutorial.
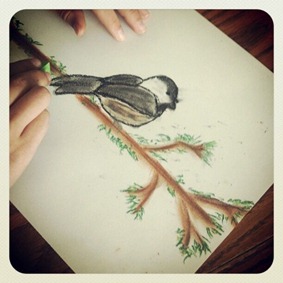
bird pastel

We’ve been busy watching the many birds at our feeder and we gathered all of our supplies. Although I didn’t go top of the line with all of our supplies {ahem ~ to see how consistent a certain momma is with art!}, I was really pleased with what we did use.

Supplies We Used

~ 9×12 Sketch pad

~ Chalk pastel set {we found a set with 48 colors}

~ baby wipes or damp paper towels

After pulling up a few additional pictures of chickadees to look at, we followed the instructions in the Chickadee Chalk Pastel Tutorial. I helped the younger two with a rough sketch of the bird’s body, but Laurianna was intent on doing hers a bit different than the rest of us.
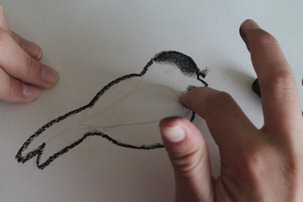
Birds pastels-2

The others began picking their colors and the rest of us dove in and started coloring our creations. Making a mess of our fingers {and forgetting that once the chalk is on our fingertips it will leave marks elsewhere….}.
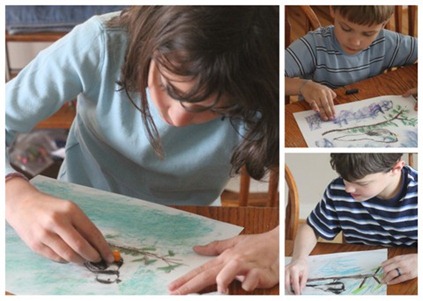
Desktop44

When all was said and done, we had five pastel masterpieces that everyone was very proud of {even I had fun with it!}.
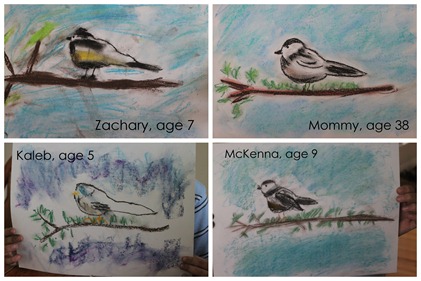
Chickadee Pastels

Laurianna spent a long time after we were all through detailing hers to get it ‘just so’. Notice how her chickadee is facing the opposite direction that all of our birds are facing?
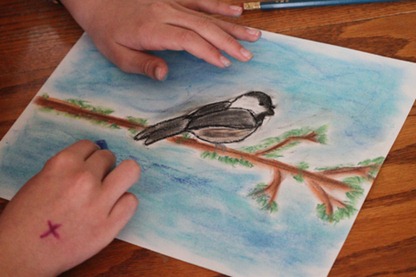
Birds pastels-9

There were only a few moments of frustration with one of the younger kids as we learned more about how to use the pastels, but otherwise the lesson was a HUGE hit and the kids are already asking when we can do another one! I’d say it was a success and one that needs to be repeated.

Don’t miss the other free chalk pastel tutorials from Tricia at HodgePodge. After a few more pastel lessons, we may even venture into her free acrylic paint tutorials as well.


Jolanthe Signature affiliate button


Don’t Miss Out!! Email subscribers of Homeschool Creations are entered to win a $25 gift certificate to Amazon each month. Subscribe by email now!


Visit these great companies!

How to Make a Resurrection Garden using Wheat Grass

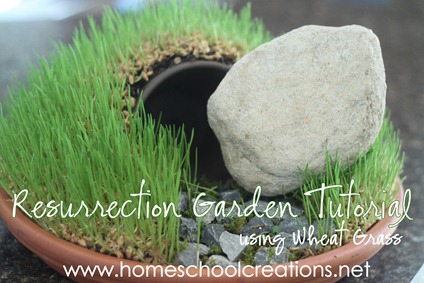
Want to make a Resurrection Garden, but think you don’t have the time? Wheat grass sprouts overnight and you can have grass in just a few days!! The picture below shows our garden on the fifth day ~ it grows that quickly!

Resurrection Garden Tutorial 2

I know there are so many ideas floating around for Resurrection Gardens, and our kids have been so excited to put ours together this year.  The Resurrection Garden is a hands-on reminder of what Easter is really about ~ a visual reminder of the tomb and all that it signifies!

For our Resurrection Garden, we used wheat grass and the results were so much faster than using grass seed {only 2 days!!}. I first tried growing wheat grass {sprouted wheat berries, or grain that is used to make bread} last year, and it was so simple and more lush than standard grass seed! Thanks to a great Easter Grass tutorial from my friend Amanda, it seemed to be the way to go for our Resurrection Garden as well.

How to Make a Resurrection Garden

If you’d like to make your own Resurrection Garden using wheat grass, you’ll need to grab just a few supplies, several that can be found outside.

  • Potting soil
  • A large pot base {I picked up a clay base at Walmart}
  • a small pot {to use as a tomb}
  • wheat berries ~ can be found at many whole food stores {see tip below}
  • a rock to cover the mouth of the tomb
  • small stones/pebbles, if desired
  • spray bottle
  • sticks and string to make crosses {we’re adding ours on Good Friday}
  • large pot {optional}

Quick tip: We grind our own wheat, so I had wheat berries on hand to use. If you don’t have any, you should be able to find some at your local whole foods store ~ or bug a friend who grinds her own wheat! :)

Resurrection Garden-2

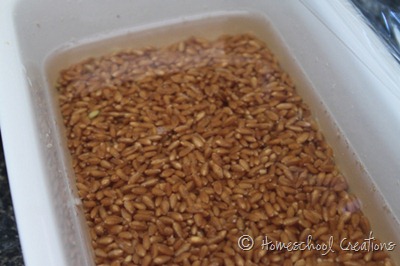
1. Soak the wheat berries in water for at least 4 hours or overnight. This will help the wheat berries to sprout quickly!


Resurrection Garden-1

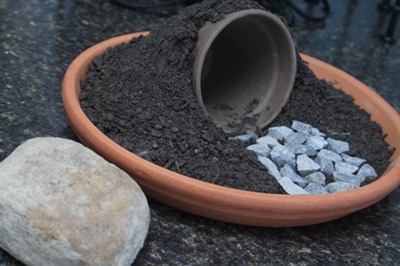
2. Lay your small pot on its side and fill the large pot base with soil. Arrange the pieces of your Resurrection Garden as you would like ~ stones for a pathway and any other decorations you desire {moss, flowers, etc…}.


Resurrection Garden-3

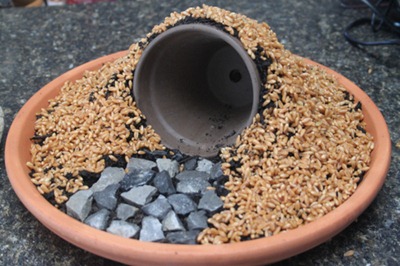
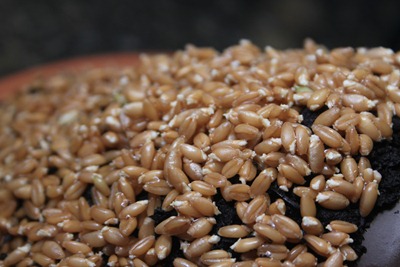
3. Gently place the soaked wheat berries on top of the soil, where you would like the grass to grow. Using the spray bottle, spritz the wheat berries thoroughly!


Resurrection Garden-1-3

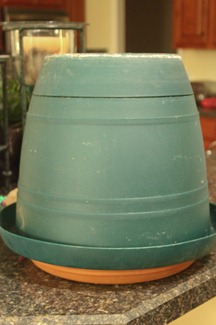
4. Once the wheat berries have been spritzed well, cover the tray to create a ‘greenhouse’ of sorts. I used a large pot as a dome to keep the moisture inside. Spritz every few hours {well, other than overnight!}.


Resurrection Garden-1-4

5. Watch for sprouts! We placed our wheat berries around 6pm at night and when we took the top off the next morning at 7am, they had already started sprouting! You can now remove the cover off and have your kids spritz it throughout the day ~ keep it moist!

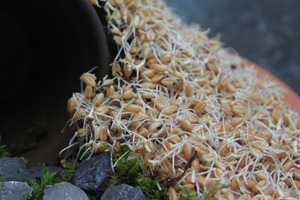
Here’s a look at the fast progress of the wheat grass on the morning of Day 2:

Resurrection Garden-1-5

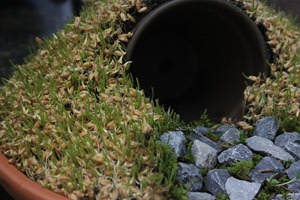
The morning of Day 3:

Resurrection Garden-2-2

This is the morning of Day 5:

photo

On Good Friday we’re going to add three crosses to the garden and roll the stone over the opening of the tomb {and perhaps have the kids find one that is a wee bit smaller!}.

The kids have really enjoyed putting the together and seeing the grass grow so quickly. It’s been a GREAT visual reminder as well for the Easter season.

image

We’re also reading Amon’s Adventure by Arnold Ytreeide, which is a daily story you can read together as a family in the days and weeks before Easter. Because we started late, we’re reading several chapters a day, but the kids have loved it, especially since it follows some of the characters in the books we read at Christmas in the Jotham’s Journey series.

Art Tutorials for Homeschoolers

I’m going to be honest with you all and tell you that art is one area that I absolutely STINK at being consistent with. Assuming that you count the token one or two projects a year as consistency. Yes, we talk about art, admire the pictures and artists, but as far as pulling out all the supplies {or purchasing them}, I tend to shy away from it.

Problem is, I have a daughter who absolutely adores art.

Fortunately, our co-op that has an amazing art teacher and for half of the year Laurianna receives some fabulous instruction from a teacher who WILL break out the art supplies. {grins}

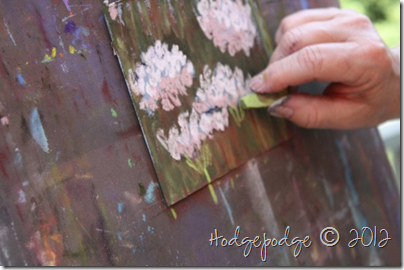
Birds nest chalk pastel tutorial

Birds nest chalk pastel tutorial

BUT ~ I’m going to step out of my comfort zone here and dive into unchartered territory soon. I ordered soft chalk pastels and plan to have some fun with the kids observing the birds at our feeder and drawing them together.

Queen Anne's lace chalk pastel tutorial

Queen Anne’s lace chalk pastel tutorial

Tricia from Hodgepodge has a collection of free chalk pastel tutorials and acrylic paint tutorials that we are going to dive into. Her mom has been sharing these tutorials on the site and I know that our kids are going to love the lessons.

Chicadee pastel tutorial

Chickadee chalk pastel tutorial

Is art one of your weaknesses too? Be sure to check out the free art lessons at Hodgepodge…and join in the art fun too. :) I may even start sharing a few of our creations here to keep myself accountable!

Jolanthe Signature affiliate button

Visit these great companies!


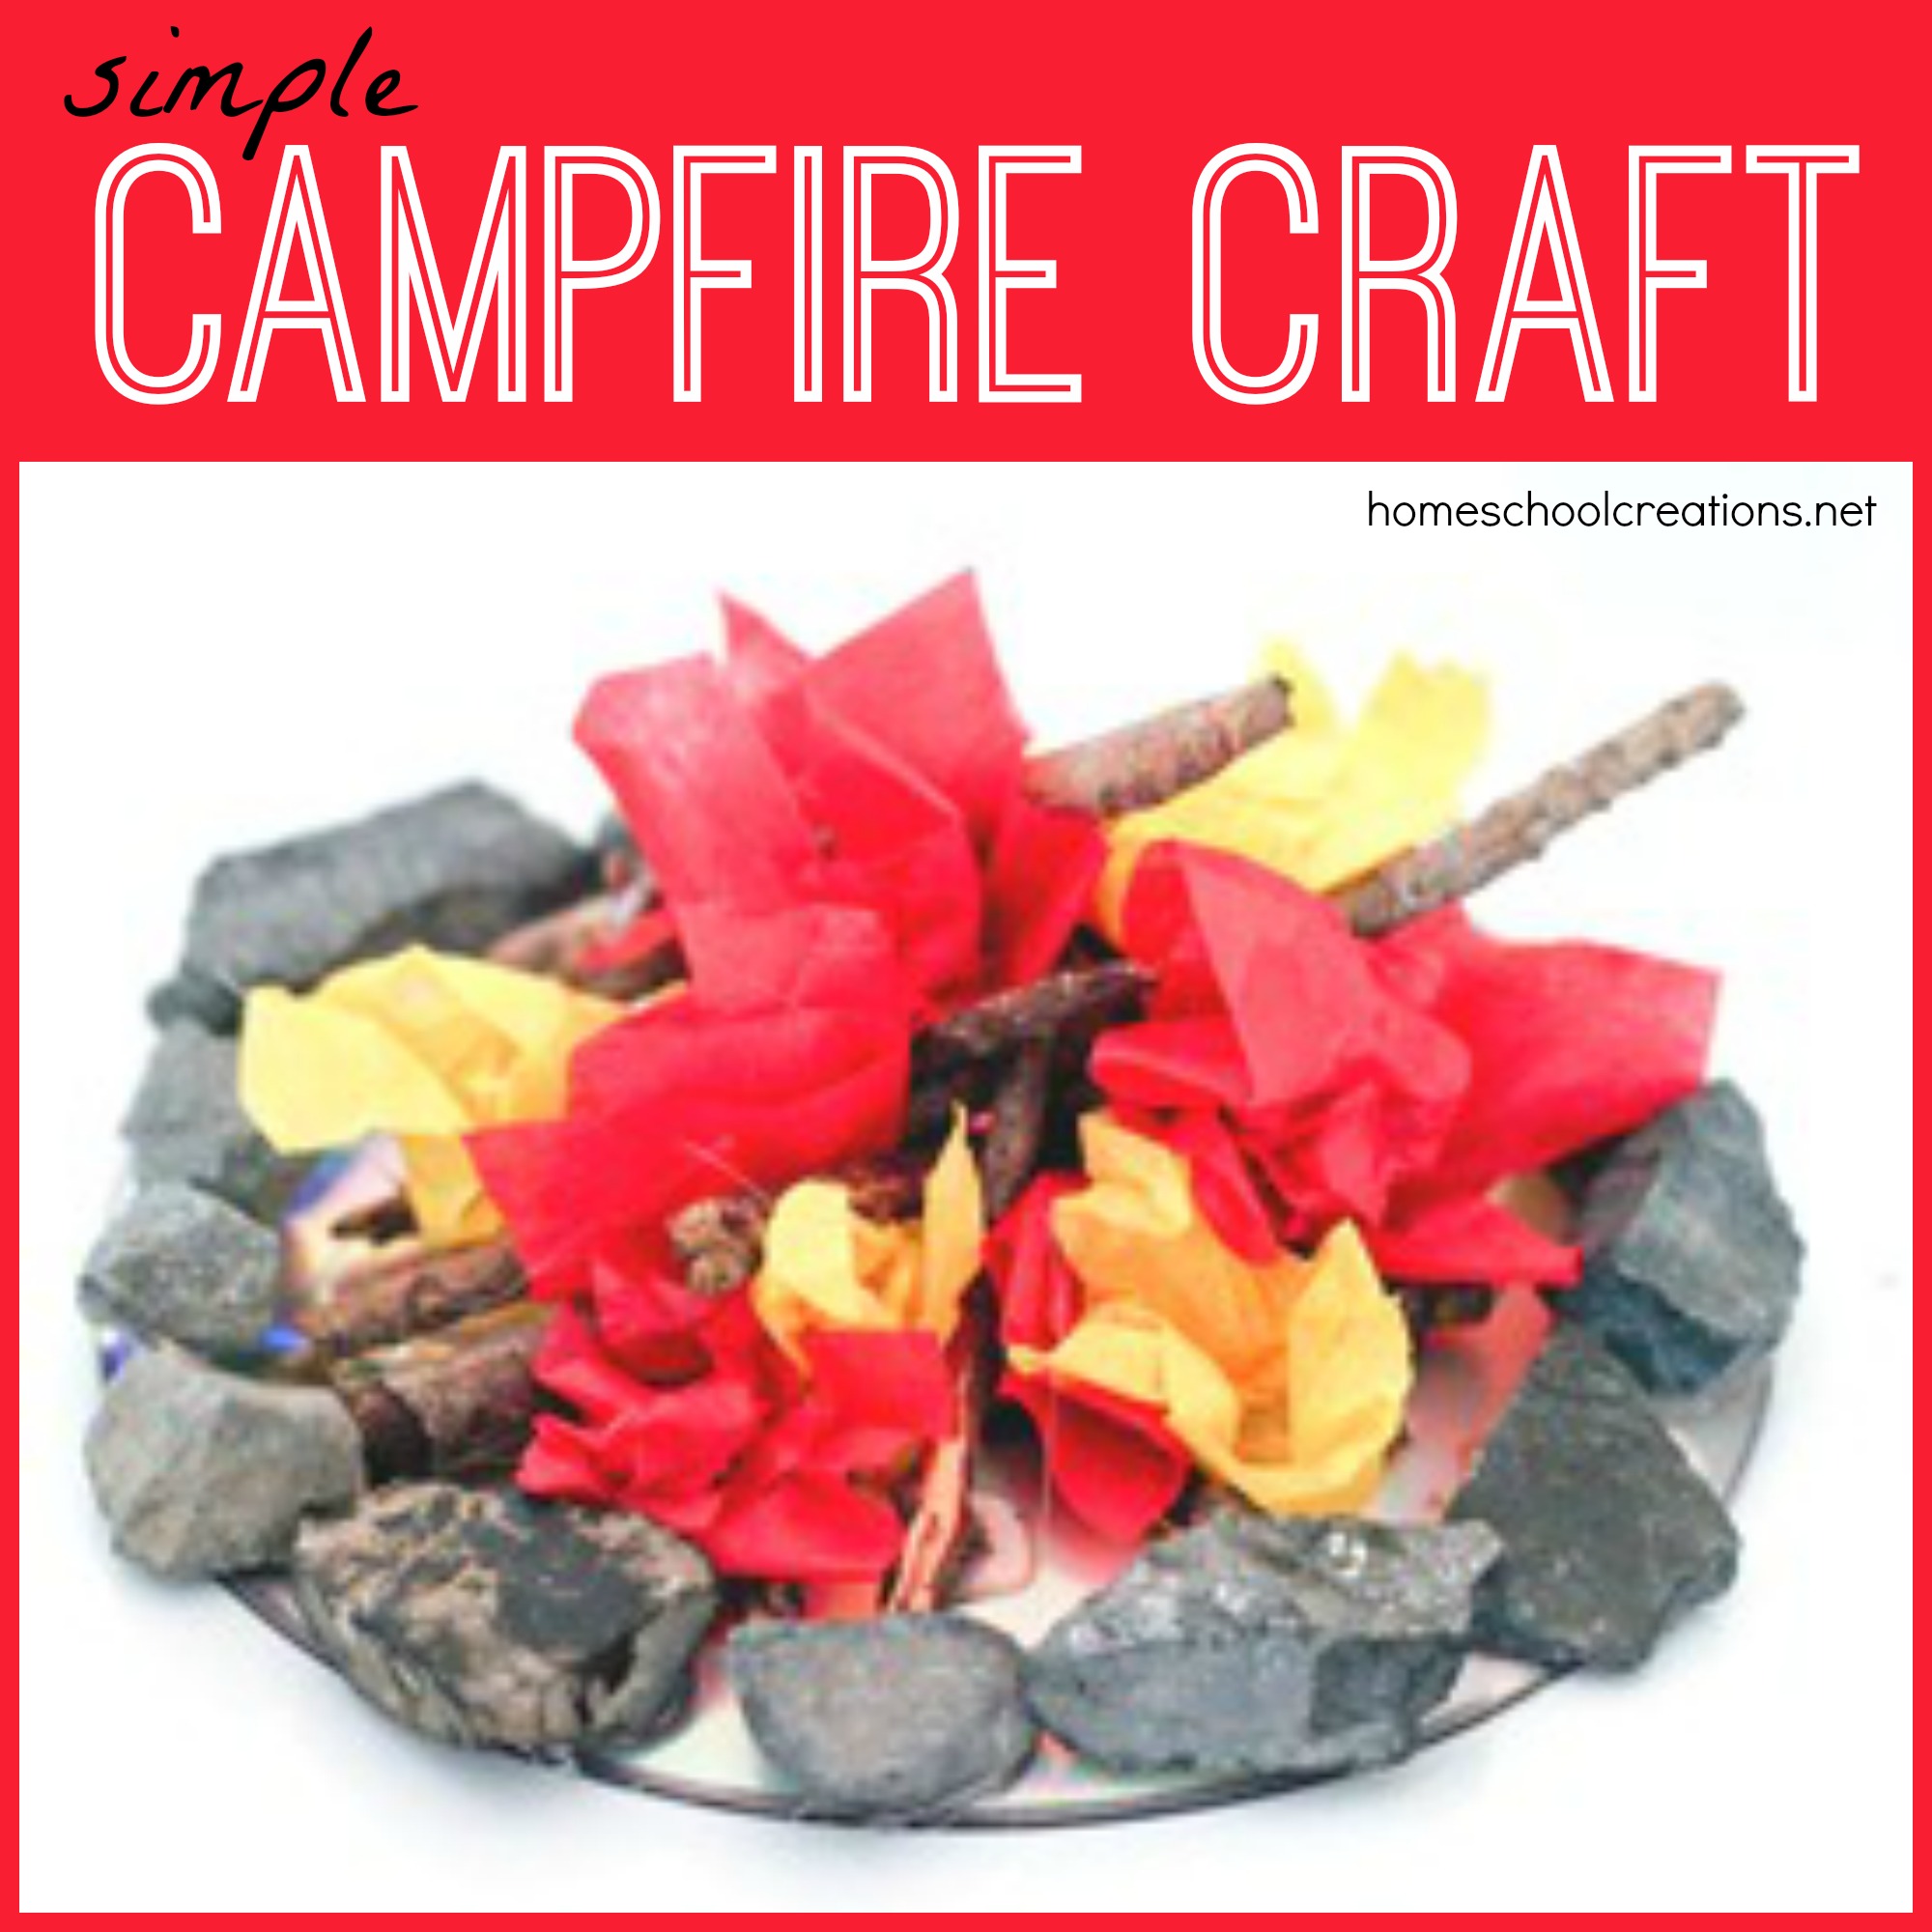
Mini Campfire Craft


Campfire craft for kids

You’ll Need

  • cd-rom disk
  • small twigs
  • small rocks
  • red and yellow tissue paper
  • hot glue {and obviously parental supervision}

To Build Your Own Campfire

1. Hot glue the rocks around the edge of the disk.

2. Break the twigs into small pieces and glue them ‘campfire style’ inside the ring of rocks.

3. Crumple up small squares of the tissue paper and glue them in the sticks to look like fire.

4. Roast a mini marshmallow over your fire!


More Camping Fun

Camping printable pack for preschool and kindergarten

Extend the camping fun with this camping printable pack for preschool and kindergarten – a little something for all! 

Parts of a Flower Craft

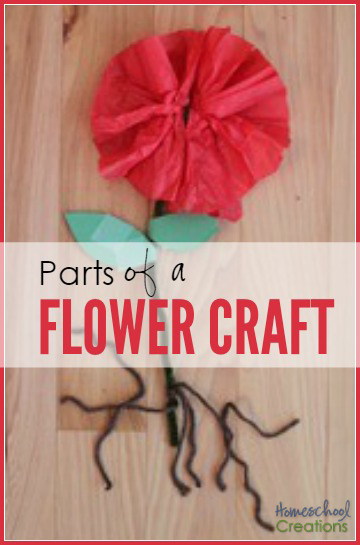
parts of a flower craft - a simple activity to learn about basic flower anatomy

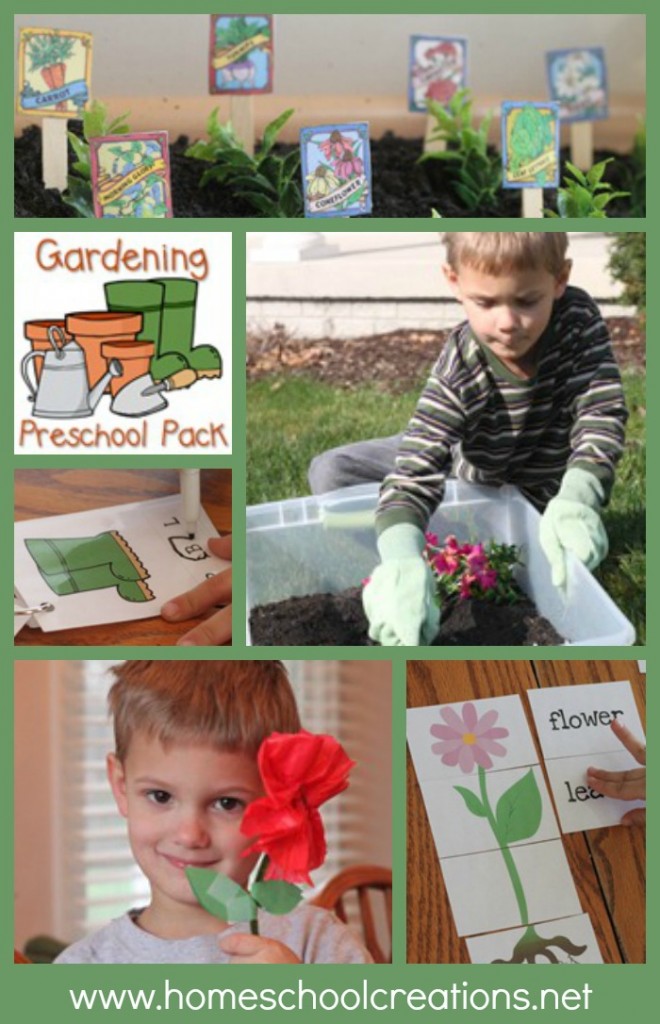
This craft was super simple and quick to do, but a great ‘hands-on’ craft for our preschooler to remember the parts of a flower. Our focus was learning about four parts: flower, leaves, stem and roots and the supplies we used are just as simple.

20110324-IMG_8875

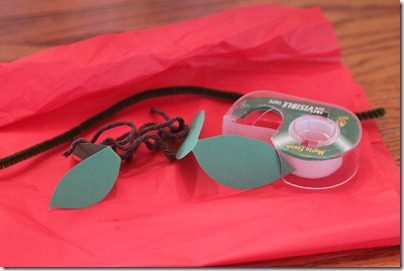
You’ll need:

  • tissue paper {your color choice!}20110324-IMG_8885
  • 4 or 5 pieces of brown yarn cut into 6” lengths
  • green pipe cleaner
  • green construction paper
  • tape

Putting it together:

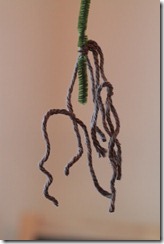
1. We used the pipe cleaner as our stem and then tied the yarn to the base of our stem {some of the pieces we tied onto other pieces of yarn so our roots would ‘spread’ out a bit.

2. We folded the tissue paper up accordian style and then wrapped the other end of the pipe cleaner around it in the center and fanned out the tissue paper so it looked more like a flower.

3. I cut some leaves out of the construction paper and taped them to our stem.

20110324-IMG_8881

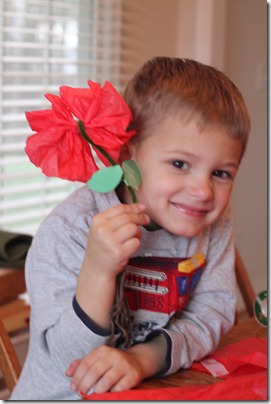
Simple, short and sweet ~ but a great ‘hands-on’ craft for learning about flowers!

Garden unit and activities for preschool and kindergarten

We did this craft to go along with our preschool garden unit – see more of the activities we worked on here.

Drawing For Fun

Our kids love to draw…as is evidenced by the many reams of paper that have been flying through our house over the last few months. Pencils, crayons and more are scattered everywhere. All.the.time.

One site that we’ve been visiting and having a lot of fun with lately has been Draw With Rich ~ a blog by the Pick and Draw game creator Rich Davis. We love his drawing game and Rich has some great blog posts showing step-by-step instructions on how to draw other things…like doodlebugs.

Here are some of the great tips he has on his blog:

I subscribed to his site by email so that I get updates on his fun tutorials. Be sure to read his post on why October 25th is a special day for him ~ God is so good!!

Jolanthe Signature affiliate button