


Little by little we’re getting back into the swing of school time. Some days are a little crazier than others, but that’s to be expected when coming back from a nice long vacation. :)
Next week promises to be fun and crazy too, but we’re going to fit in what we can! I will be out of town at the end of next week, so I’m not sure about my internet connection, but should have things ready on this end…but we all know how plans can go awry!
We didn’t really have a set focus this week, other than lots of books about snow and cold weather, but otherwise we just had fun doing a little bit here and a little bit there.
Art
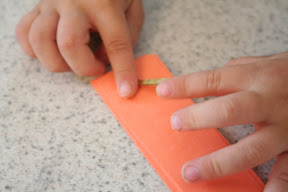
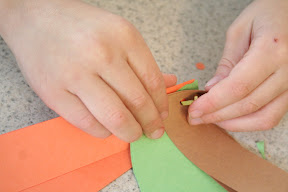
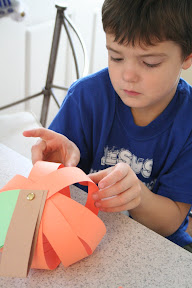
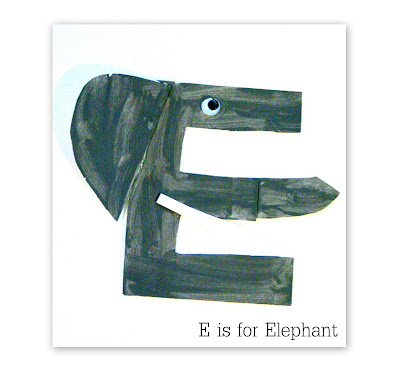
H is for House
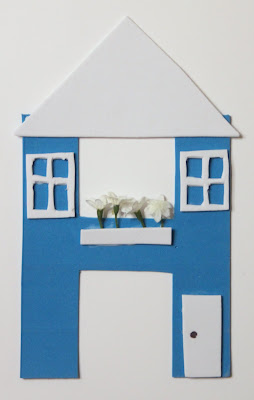
Our letter craft this week was the letter H for House {full directions are on Totally Tots}. We read The Napping House by Audrey Wood to go along with the craft.
Cooking
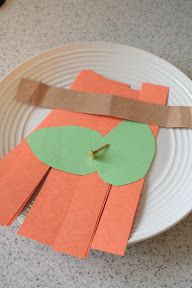
Snoman on a Stick

We had fun putting some fruity snowmen together this week. If you’d like the full details, you can find them on my Little Books for Little Cooks post at Totally Tots.
Games
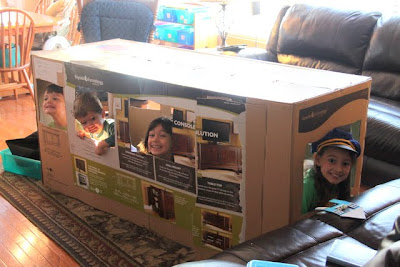
We had a lovely HUGE box that the kids called dibs on this week and have had WAY too much fun playing bus stop, elevator, boat…really anything that they can think of .
Math
Pennies and Nickels ~ This week we’ve been working on money values. We’re only focusing on pennies and nickels right now. Remembering that pennies are worth one cent is going well, so we’re learning how to count by fives and remember how much the nickel is worth.
One of the ways that we are incorporating more money counting into our day is during calendar time. Carisa at 1+1+1=1 had a great idea to use coins to count the date out ~ you can see more on that here.
We aren’t using the printable coins. Instead I bought some play money and put velcro dots onto the back of the coins. Depending on the date, we use the money to make the date {i.e. January 8th is a nickel and 3 pennies}. Zachary is loving the hands on aspect of using the money too. :)
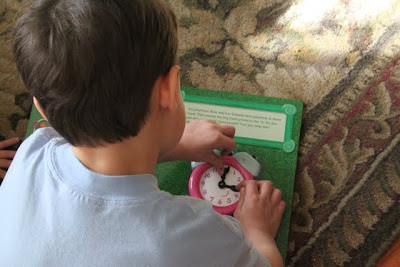
Telling Time ~ Zachary is able to tell time using a digital clock and also to the hour on our many other non-digital clocks. A book that he loves is Telling Time with Tickety Tock {a Blue’s Clues book}.
Reading and Spelling
I really can’t say enough about All About Spelling and how much we love the program! Zachary asks me if we can do it every day {we usually do it once, maybe twice a week}. some days we do half of a lesson, depending on his attention span.
Sometimes we use the letter tiles and other time use the whiteboard to practice handwriting. Since we’ve been working on lowercase letters, the whiteboard was handy this week.

We have several different books/programs that Zachary is using for his reading time. One of them is the Beehive Reader that goes along with All About Spelling and their level one program. We just read a few pages every day together, but this week have been working on the ‘th’, ‘sh’ and ‘ch’ sounds. He is obviously getting it too! McKenna was fussing about how to spell the word ‘inch’ and Zachary sounded it out and spelled it for us. :)
Stories & Books We Used
Ready to Link Up?
![]()


 The printables shared on this site are FREE of charge unless otherwise noted, and you are welcome to download them for your personal and/or classroom use only. However, free or purchased printables are NOT to be reproduced, hosted, sold, shared, or stored on any other website or electronic retrieval system (such as Scribd or Google docs). My printables are copyright protected and I appreciate your help in keeping them that way.
If you download and use some of my printables and then blog about them, please provide a link back to my blog and let me know - I'd love to see how you are using them! Please be sure to link to the blog post or web page and not directly to the file itself. Thank you!
The printables shared on this site are FREE of charge unless otherwise noted, and you are welcome to download them for your personal and/or classroom use only. However, free or purchased printables are NOT to be reproduced, hosted, sold, shared, or stored on any other website or electronic retrieval system (such as Scribd or Google docs). My printables are copyright protected and I appreciate your help in keeping them that way.
If you download and use some of my printables and then blog about them, please provide a link back to my blog and let me know - I'd love to see how you are using them! Please be sure to link to the blog post or web page and not directly to the file itself. Thank you! 