

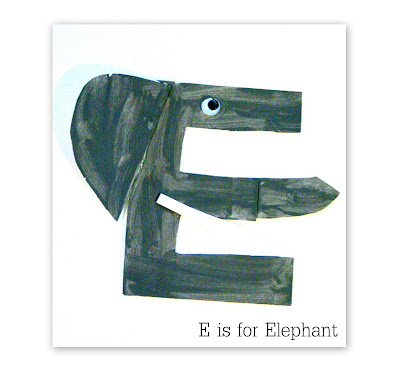
 Eggs and elephants were the topics we covered this week for class. Once I started with the elephants it was a little hard to stop, especially once the handprint came into play. :) Too cute and too fun.
Be sure to check out my Letter E post from last year too for some additional ideas to use for the letter E, including a printable collage sheet, a different alphabet page and games.
Before I forget, if you are looking for the links to past alphabet posts, they are all at the bottom of the blog in the footer.
Alphabet Book
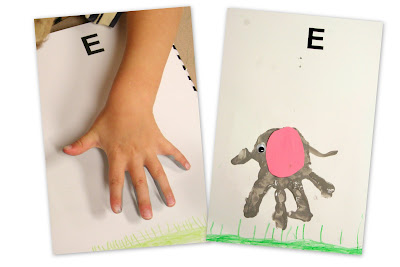
You’ll Need:
- Gray paint {we had fun mixing black and white together}
- Paintbrushes
- Green markers
- Pink ‘ears’ for your elephants
- Googley eyes
- Wet wipes {for quick clean-up}
To Make:
{Note: I cut out the pieces ahead of time since we have a short amount of time and a lot to do ~ otherwise I would recommend letting the kids cut out their own pieces as much as possible!}
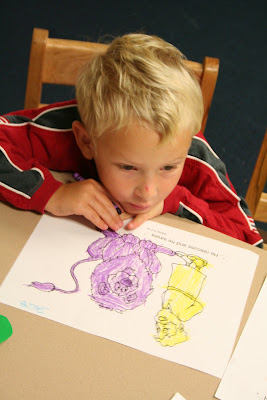
1. Mix up the paint {if needed} and have kids color grass along the bottom of their alphabet sheet.
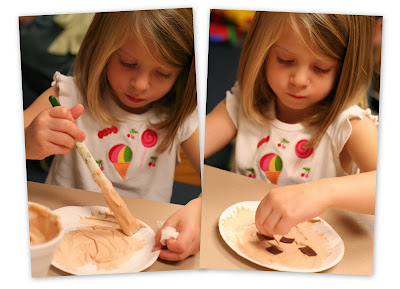
2. Paint your child’s hand with the gray paint, completely covering the fingers and palms.
3. Have your child place their hand on the paper {fingers pointing down toward the grass on the bottom} and gently press hand onto the paper so that the paint transfers.
4. Add an ear and an eye to your elephant and paint a thin tail.
Art
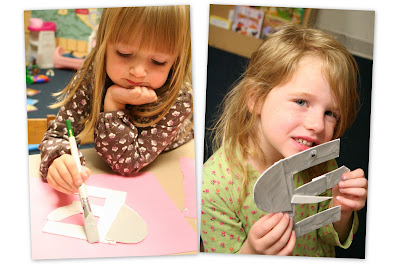
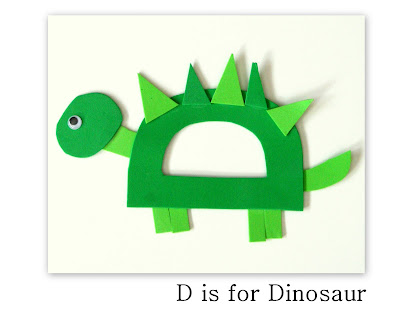
Elephant E ~ This week our letter craft for that looks like the letter we’re learning about was a fun little elephant. You can see it up close and get directions in my E is for Elephant post.
Games
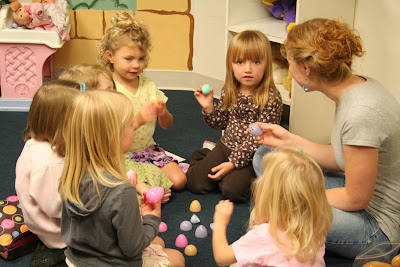
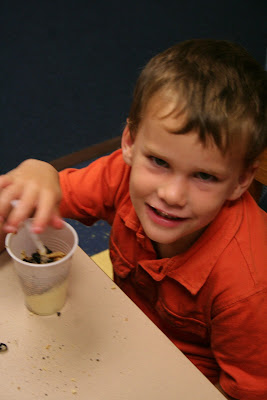
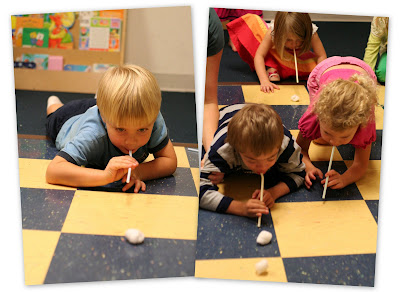
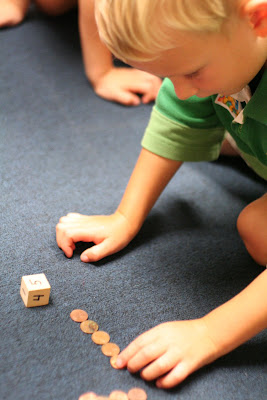
Egg Matching ~ I put numbers on one end of a plastic Easter egg and the same number of dots on the other end. The kids had fun counting the dots and finding the number match {works great if you either mix up the egg colors or use all the same color egg}. They also counted out pieces of elbow macaroni to put inside, depending on what number was on the egg.

Uppercase/Lowercase Matching Game ~ Found a great letter E matching game over at Homegrown Hearts where the kids sort upper/lowercase letters. Be sure to check out her other E printables.
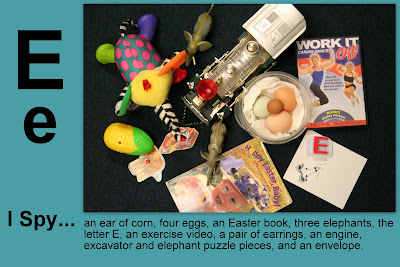
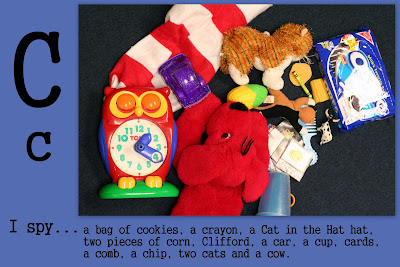
I Spy ~ These are things that we found either in our classroom or brought from home to share for show and tell. Can you find the things we spied? {this will print great as a 4×6 print}.
Science
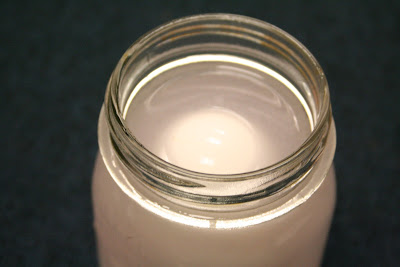
During our group time, we took a raw egg and put it into a jar filled with warm water {it sank}. I made some observation sheets for the kids to predict and record what would happen when we added salt to the water.
We added a LOT of salt.
And it finally floated up to the top {thank goodness}.
Songs and Rhymes
During our group time we sang the song “Do Your Ears Hang Low” and then later replaced the word ‘ears’ with other body parts: elbows, eyes, knees, hands, etc… and the kids had fun trying to see if they could throw those things over their shoulders.
One of the boys is VERY flexible and can put his foot over his shoulder!
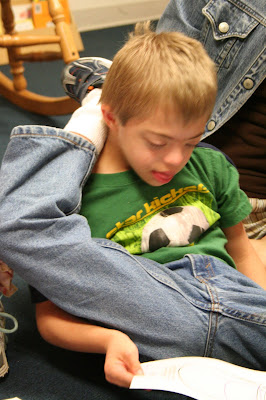
Stories & Books We Used
About the Preschool Corner
The guidelines can be found here if you need them.
Share what you’ve been doing in your house this week!
![]()


 The printables shared on this site are FREE of charge unless otherwise noted, and you are welcome to download them for your personal and/or classroom use only. However, free or purchased printables are NOT to be reproduced, hosted, sold, shared, or stored on any other website or electronic retrieval system (such as Scribd or Google docs). My printables are copyright protected and I appreciate your help in keeping them that way.
If you download and use some of my printables and then blog about them, please provide a link back to my blog and let me know - I'd love to see how you are using them! Please be sure to link to the blog post or web page and not directly to the file itself. Thank you!
The printables shared on this site are FREE of charge unless otherwise noted, and you are welcome to download them for your personal and/or classroom use only. However, free or purchased printables are NOT to be reproduced, hosted, sold, shared, or stored on any other website or electronic retrieval system (such as Scribd or Google docs). My printables are copyright protected and I appreciate your help in keeping them that way.
If you download and use some of my printables and then blog about them, please provide a link back to my blog and let me know - I'd love to see how you are using them! Please be sure to link to the blog post or web page and not directly to the file itself. Thank you!