20 Best Tips

Straws and Air Pressure ~ Science Sunday

Science Sunday

Question of the Week…

Items we used for this experiment:

~ two straws

~ water

~ glass

Predictions and Experiment…

Each of the kids made a prediction about what would happen when we put one straw in the cup, one straw out of the cup and then tried to suck the water up through the straw. Would the water come up through the straw faster, make bubbles, go up one and down the other, or do nothing at all?

Each of the kids took turns and had a very hard time getting any water to travel up the straw, but they were determined to try!
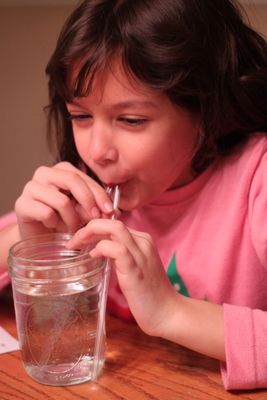
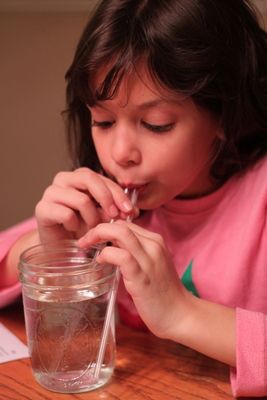
Photobucket Photobucket


The Nutshell Reason…

Air moves from areas of higher pressure to areas of lower pressure. When you suck on a straw in a glass of water, the air pressure in your mouth decreases and the water is forced up through the straw {from an area of higher pressure to the lower pressure}.

With two straws, one not being inside the glass, air travels up the second straw into your mouth and the pressure inside your mouth is about equal to the pressure outside…and the water won’t travel up the straw.

After the Experiment…

We had to keep trying! The kids all took turns trying to get the water up the straw. Many giggles and much fun from something super simple!
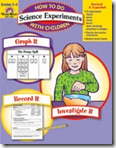
How to Do Science Experiments with Children Resource: How to Do Science Experiments with Children is available from Amazon and you can also check it out {and do some of the experiments} using Google Docs! The experiments use easy-to-find objects and also include record sheets for kids to fill out with their predictions and experiment results. Each experiment also includes teaching tips and explanations…which are rather handy! :)

Don’t forget to check out some other great science ideas at Science Sunday hosted by Ticia at Adventures in Mommydom.

 Jolanthe Signature affiliate button

Quit Humming! ~ Science Sunday

Science Sunday

Question of the Week…

Items we used for this experiment:

~ hands, ears, eyes, noses and mouths

Predictions and Experiment…

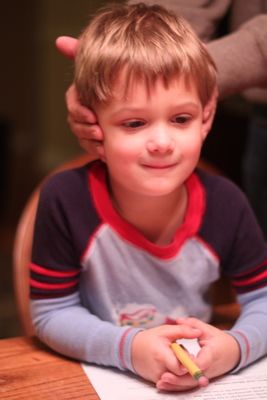
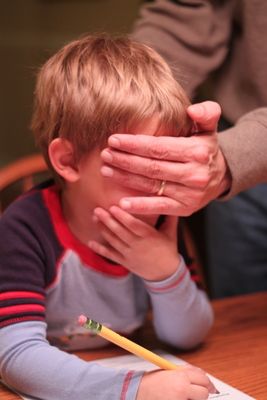
Each of the kids made a prediction about what would make a person stop humming: covering his eyes, covering his ears, covering his mouth, or pinching his nose shut. We recorded our guesses {even Kaleb played along with us} and started the experiment.

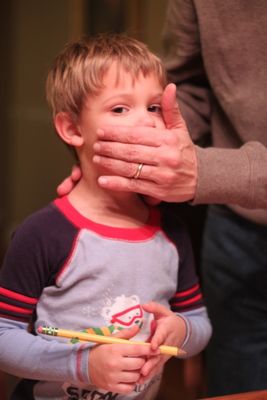
Kaleb started humming and Daddy came up to him and began trying all of the options {with many giggles}.

Photobucket Photobucket Photobucket Photobucket
 

The one way that he stopped humming? Plugging his nose!
 

The Nutshell Reason…

Air travels up over the vocal chords and comes out through our noses. When the nose is pinched shut, the air is unable to escape {because our mouths are shut and humming} and the air stops traveling over the vocal chords ~ and the humming stops!

After the Experiment…

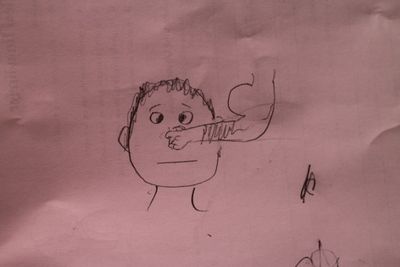
While the kids drew pictures of what had happened during our experiment, Daddy was busy helping Kaleb draw a picture for his recording sheet. Since he was the one pinching Kaleb’s nose, he made sure to add in {and exaggerate} his muscles…much to the kid’s delight. :)

Photobucket


How to Do Science Experiments with Children Resource: How to Do Science Experiments with Children is available from Amazon and you can also check it out {and do some of the experiments} using Google Docs! The experiments use easy-to-find objects and also include record sheets for kids to fill out with their predictions and experiment results. Each experiment also includes teaching tips and explanations…which are rather handy! :)

Don’t forget to check out some other great science ideas at Science Sunday hosted by Ticia at Adventures in Mommydom.

 Jolanthe Signature affiliate button

Coloring Celery ~ Science Sunday

Science Sunday

I am SO excited to be starting back up with Science Sunday. This really has been a favorite post for our whole family ~ the kids enjoy the experiments we’re doing very much, and I enjoy sharing them!! Besides, an excuse to take pictures {or use the cute new Science Sunday button} is always good!

This week’s experiment is pretty basic, but we had to do the celery stalk at SOME point, didn’t we? That’s just one of those standard science experiments that is begging to be done!! We did mix it up a little bit, but here’s a look at what we did.

Question of the Week…What will happen to a stalk of celery after three hours if it is put in a cup of water {one with sugar, one with salt, one with baking soda, and one with just water}?

Items we used for this experiment:

~ celery

~ 4 cups half filled with water

~ baking soda, salt, and sugar

~ food coloring

~ water

Predictions…

Each of the kids made a prediction about the 4 different stalks of celery and types of water ~ would the additions to the water make a difference in the coloring of the celery stalk after 3 hours or would they all be the same? Would they wilt, grow leaves, change colors, or do nothing?

The Experiment and Results…

Although the experiment didn’t call for all the extra ingredients {sugar, baking soda, and salt}, we wanted to see if there would be any difference in how fast the coloring would travel up the stalk of celery…or if it would even travel up if those ingredients were even added.

IMG_7563

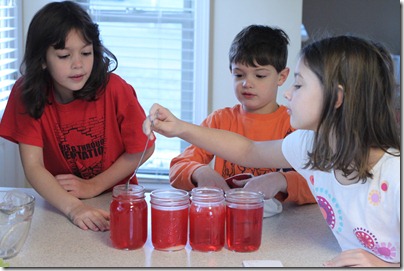
We added one tablespoon of each of the ingredients to a different glass of water, labeled them, stuck the celery in the jars and then realized we needed to chop off a bit of the top and bottom to make sure it was ‘fresh’ and the water could travel if needed.

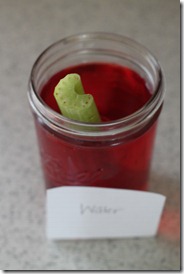
After three hours of {not-so} patiently waiting, here is how each of our celery stalks looked {pictures are before and after}:

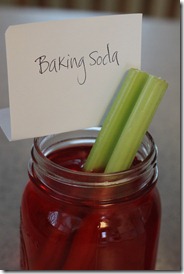
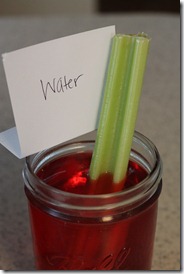
Celery in baking soda water w/coloring

IMG_7573  IMG_7575

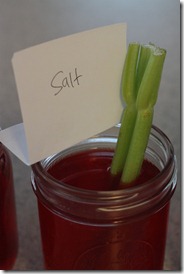
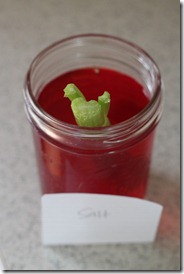
Celery in salt water w/coloring

IMG_7572  IMG_7576

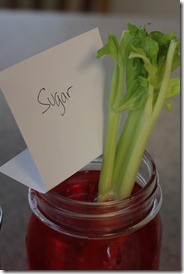
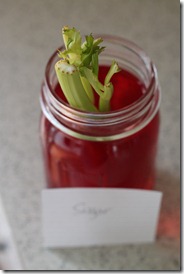
Celery in sugar water w/coloring

IMG_7571  IMG_7577

Celery in plain water w/coloring

IMG_7574  IMG_7579

The baking soda celery stalk had only ONE tube that showed the red food coloring. The salt celery stalk had NO tubes showing the coloring. The sugar celery stalk was the most permeated with color and the water celery stalk was also very color permeated.

The Nutshell Reason…

Plants use capillary action to pull water and nutrients from their roots up through the plant.  Capillary action is the movement of water up narrow tubes {like those in celery plants}. The water travels up through the tubes via cohesion and adhesion. The adhesion is between the water molecules and the sides of the celery’s tubes. The cohesion is between the water molecules and the water molecules themselves. When the force of adhesion is greater than the force of the cohesion, fluids will rise ~ so the liquid will then rise up into the tubes of the celery.

How to Do Science Experiments with Children Resource: How to Do Science Experiments with Children is available from Amazon and you can also check it out {and do some of the experiments} using Google Docs! The experiments use easy-to-find objects and also include record sheets for kids to fill out with their predictions and experiment results. Each experiment also includes teaching tips and explanations…which are rather handy! :)

Don’t forget to check out some other great science ideas at Science Sunday hosted by Ticia at Adventures in Mommydom.

 Jolanthe Signature affiliate button

Funny Money ~ Science Sunday

Question of the Week…What will happen to a quarter put on top of a soda bottle that has just come out of the freezer?

Items we used for this experiment:

~ 2 liter bottle

~ quarter

~ a little cold water

Predictions…

Each of the kids made a prediction about what they thought would happen to the quarter ~ would it fall in the bottle, fly off, jump around or just sit there and do nothing?

Predictions varied with all of the kids. Initially, the experiment called for using a nickel and the second I tried to rest the nickel on the top, it fell in {not because it was supposed to}. We quickly grabbed a quarter instead, and that worked much better.

The Experiment…

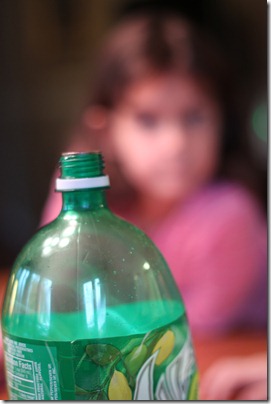
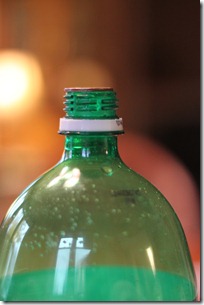
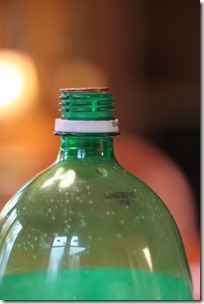
We left the 2 liter bottle in the freezer overnight {uncapped} and pulled it out to do the experiment. We used a little bit of cold water around the lip of the bottle and dipped our quarter in a glass of cold water and set it on top of the mouth of the bottle.IMG_9530

And then we watched and waited. And waited…..

Finally, the quarter started popping up and then would quickly drop back down onto the mouth of the bottle. {It’s here that I will insert that I was taking pictures like a madwoman trying to ‘catch’ the lift of the coin…to the tune of over 125 pictures of a soda bottle. Thank the Lord for digital cameras!}.

If you look REALLY close, you can see the picture lifting. I mean REALLY close.

IMG_9777 IMG_9780

The Nutshell Reason…

Temperature affects air pressure. As the air inside the bottle warmed up after it came out of the freezer, the air pressure increased. Cold air is more compact than warm air and as the air warms, the air particles push up on the quarter and try to escape the bottle.

How to Do Science Experiments with Children Resource: How to Do Science Experiments with Children is available from Amazon and you can also check it out {and do some of the experiments} using Google Docs! The experiments use easy-to-find objects and also include record sheets for kids to fill out with their predictions and experiment results. Each experiment also includes teaching tips and explanations…which are rather handy! :) Don’t forget to check out some other great science ideas at Science Sunday hosted by Ticia at Adventures in Mommydom.

 Jolanthe Signature affiliate button

Fire Needs Oxygen ~ Science Sunday

As we started carving our pumpkins this week I remembered that I’d found an experiment we could do along with the hollowed out pumpkins. We ended up rolling our science time together with our Bible time and also our pumpkin carving time…and managed to kill three birds with one stone! Gotta love that!

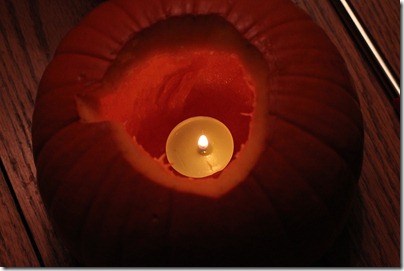
Before we made faces on our pumpkins, but after we scooped all the yuckies out, we put a small tealight in our pumpkin, lit it, and then put the top back on our pumpkin.

Question of the Week…

What would happen to the candle flame when we put the lid back on the pumpkin?

Items we used for this experiment:

~ a pumpkin

~ a tealight candle

~ lighter/matches

Predictions and Experiment…

Each of the kids made a prediction about what they thought would happen…and not a one guessed the real answer. They thought it might blow the lid off the top of the pumpkin, start it on fire, or worse. :)

IMG_8927 

We put the lid on, waited about a minute and when we pulled the top off again…the fire had gone out!

The Nutshell Reason…

Fire needs oxygen to burn. Since our pumpkin was essentially sealed {we hadn’t carved out any facial features}, the oxygen was cut off. Once the oxygen is used up, the candle goes out!

After the Experiment…

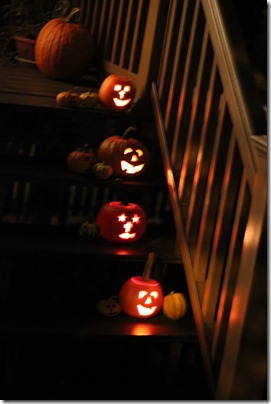
After the experiment was over, we finished carving out our pumpkins and watched the candles burn {since they had plenty of oxygen now!}. Each of the kids also drew a picture on the back of their experiment sheet to show what happened during the experiment and why.

IMG_8934 

How to Do Science Experiments with Children Resource: How to Do Science Experiments with Children is available from Amazon and you can also check it out {and do some of the experiments} using Google Docs! The experiments use easy-to-find objects and also include record sheets for kids to fill out with their predictions and experiment results. Each experiment also includes teaching tips and explanations…which are rather handy! :)

Don’t forget to check out some other great science ideas at Science Sunday hosted by Ticia at Adventures in Mommydom.
 Jolanthe Signature affiliate button

Our Classroom Plant {Science Sunday}

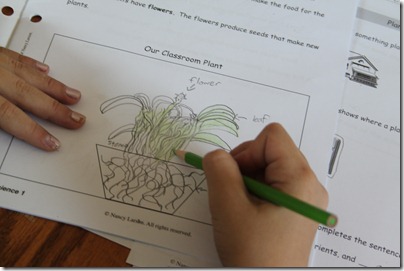
We finished up our study on human development a few weeks ago and are now learning all about botany and trees with Nancy Larson Science 1. This week we took a ‘field trip’ of sorts to Walmart with one quest ~ to find a ‘classroom plant’. After much debating, we settled on a peace lily since the pickings were pretty slim mid-October.

Over the next few weeks, our plant will be a central part of our learning. We’ve been talking about what plants need to live and the primary parts of plants: roots, stems, leaves and flowers.

IMG_8471

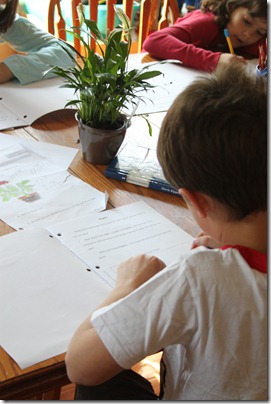
Right now we’re drawing pictures of our plant, labeling the parts of the plant, and observing it up close and personal

IMG_8479

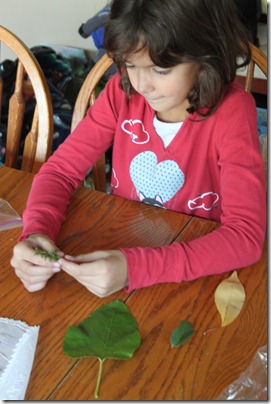
We also had some fun exploring and collecting five different types of leaves from around our house and using Peterson First Guide to Trees to identify the types of trees that the leaves came from. We later talked about the parts of trees {roots, trunk, branches, twigs, and leaves}.

IMG_8481

It’s been a great season for us to be talking about trees since the weather has cooled off and we have some great places to go on nature walks and get a hands-on look at a huge variety of trees {and get some energy out at the same time}. But shhh!! Don’t tell them I said that!

Check out some other great science ideas at Science Sunday hosted by Ticia at Adventures in Mommydom.
 Jolanthe Signature affiliate button