

A few weeks ago we read Knight Before Dawn by Mary Pope Osborne as part of our study of Great Britain (I know…great literature, but the kids love it!). While I was looking for a study guide and some lapbook ideas to go along with our studies I came across a study guide also by Osborne called Knights And Castles (Magic Tree House Research Guide). The book simply breaks down everything about knights and castles and has illustrations and side comments from Jack and Annie also. The girls really enjoyed using it and it made it much easier to get them to sit still and focus on the things we were learning about.
Homeschool Share also has several different levels of knight lapbook components that you can pick and choose from depending on your child’s age/level. They also have a unit study along with the lapbook pieces to use as you go along. We used some from Homeschool Share and the bulk from Osborne’s Knights And Castles. Only after we did our unit did I realize that Homeschool Share has chapter by chapter minit books based on Osbornes book {sigh}.
Here’s how we broke up our week:
Monday
- Reviewed what we had learned about knights/castles from prior study: Middle Ages, protecting a castle, castle life, and festivals and fairs
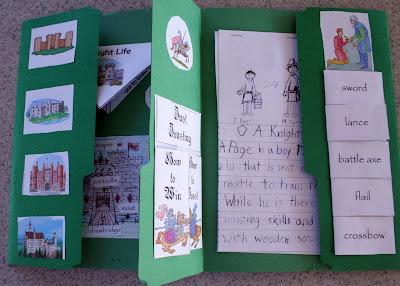
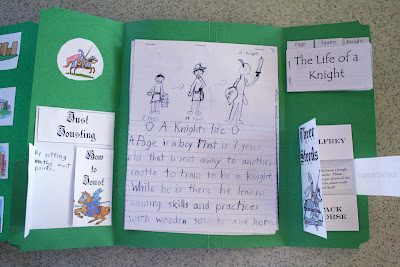
- Life of a Knight tab book: stages in how to become a knight: page, squire, knight
- Label the castle: portcullis, tower, parapet, moat, drawbridge, merlon, and crenel
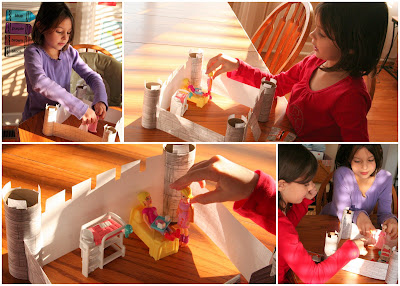
- Colored pieces of our castle we were making (DLTK site)
Tuesday
- Learned about different types of armor and weapons that knights used
- Labeled a knight’s armor: helmet, chest & back plates, arm plates, thigh plates, foot plates, shoulder plates, gloves, and calf plates
- Identified different weapons flapbook: sword, lance, battle axe, flail, crossbow
- Talked about where knights lived and a little about castles and how they were built
- Finished the castle – the below picture shows the fair maiden Polly Pocket in her dwelling
Wednesday
- Talked about battles and seiges
- How to joust and win – i.e. how to score and get the most points
- Learned about the three steeds of a knight: palfrey, destrier, and pack horse
- Vocabulary: page, squire, code of chivalry, moat, merlon, crenel, sentry, armor, serf, pilgrimage, and dubbing ceremony
Thursday
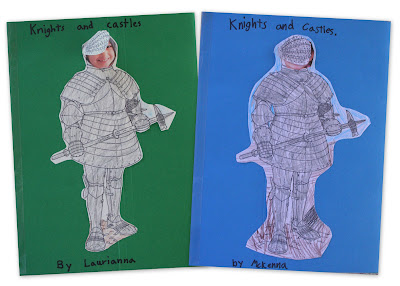
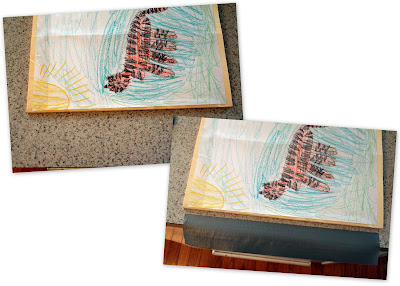
- Lapbook cover
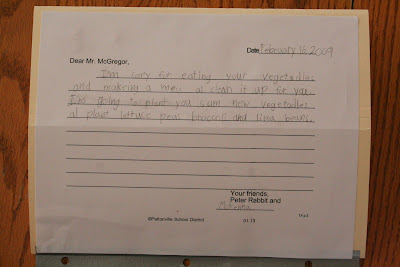
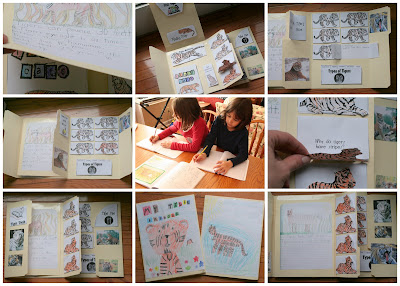
- Wrote about knights and castles (you have to see the pictures below for a good laugh – Laurianna’s involved a fainting man who saw a knight and was surprised)
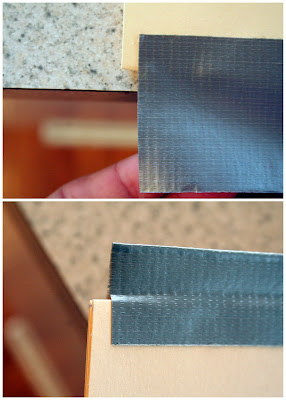
- Put lapbook together and had fun using Polly Pockets as the castle maidens – you have to use what you have!
A few websites we used this week:
- Hoernersburg Lego Castle…it’s all legos (and I think I have free time….)
- Castles for Kids – talks about the parts of a castle and also has other links to real castles, even some for sale should you be in the market for one
- Kid’s Castle – our girls had fun on this site exploring different areas: dragonsville, the great tower, the guardroom, gatehouse and more
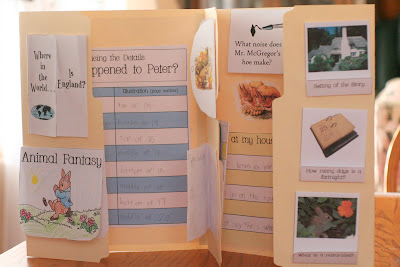
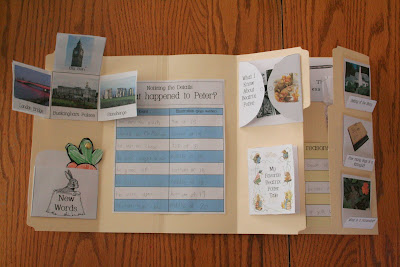
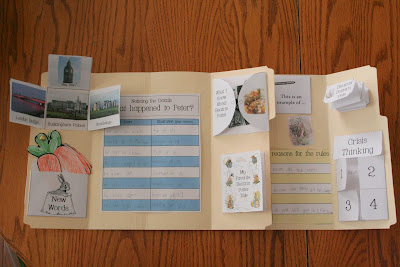
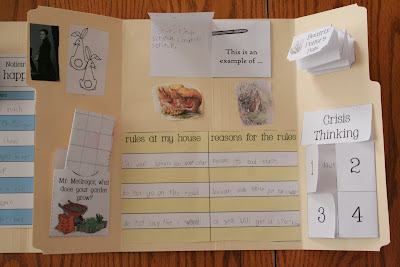
Pictures of our completed lapbooks:

The picture of the fainting man

Some great resources on knights and castles:


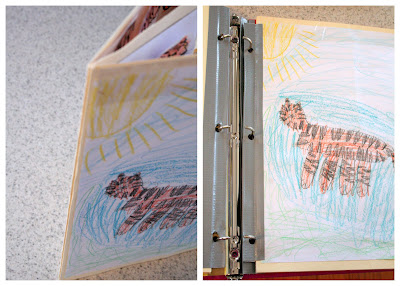


 The dough took a few days to dry, so on Wednesday we were able to paint it together. I outlined a few areas for the girls and they worked together to paint it to make it look more like a scene/cutaway of a volcano. When they were done with the base painting, they let Mommy drip red paint around the ledge of the volcano to make it look like lava was dripping down the sides of the mountain.


 The printables shared on this site are FREE of charge unless otherwise noted, and you are welcome to download them for your personal and/or classroom use only. However, free or purchased printables are NOT to be reproduced, hosted, sold, shared, or stored on any other website or electronic retrieval system (such as Scribd or Google docs). My printables are copyright protected and I appreciate your help in keeping them that way.
If you download and use some of my printables and then blog about them, please provide a link back to my blog and let me know - I'd love to see how you are using them! Please be sure to link to the blog post or web page and not directly to the file itself. Thank you!
The printables shared on this site are FREE of charge unless otherwise noted, and you are welcome to download them for your personal and/or classroom use only. However, free or purchased printables are NOT to be reproduced, hosted, sold, shared, or stored on any other website or electronic retrieval system (such as Scribd or Google docs). My printables are copyright protected and I appreciate your help in keeping them that way.
If you download and use some of my printables and then blog about them, please provide a link back to my blog and let me know - I'd love to see how you are using them! Please be sure to link to the blog post or web page and not directly to the file itself. Thank you!