20 Best Tips

ABC Letter Crafts for Kids

If you’ve been around my blog for any amount of time, you may remember the many upper and lowercase letter crafts I worked on with our kids and preschool co-op classes. Finding ways for kids to visualize letter sounds is definitely something that we’ve seen make a difference in our home (and besides, the crafts were super cute!). 

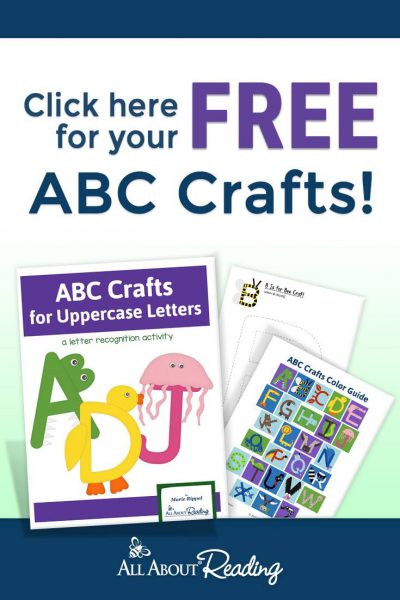
Recently, a site I love began sharing some hands-on ABC crafts that I know your family will adore. Each week they are posting a new uppercase letter craft based on a different animal. Take a look at some of the ones they have shared so far: 


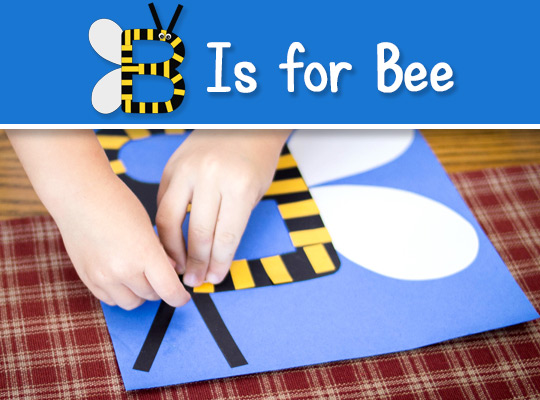
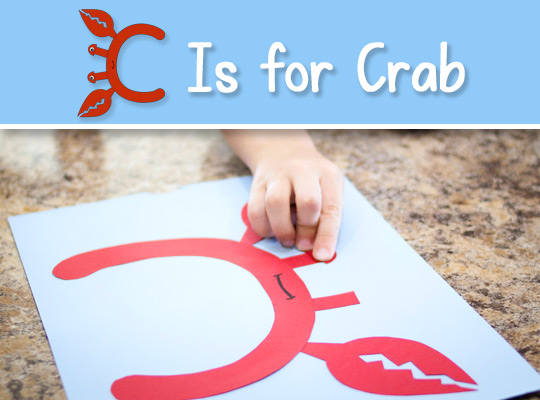
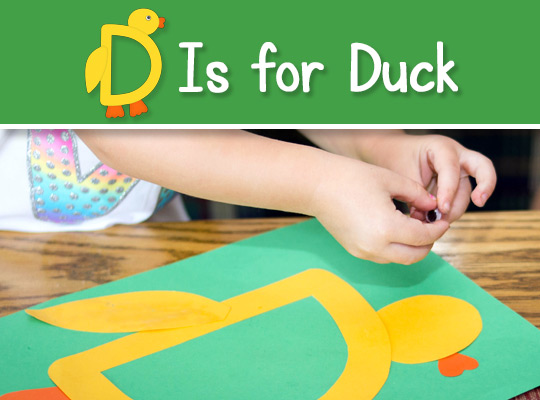
Click on any of the images above to go directly to those posts and learn more about the weekly alphabet crafts here. 
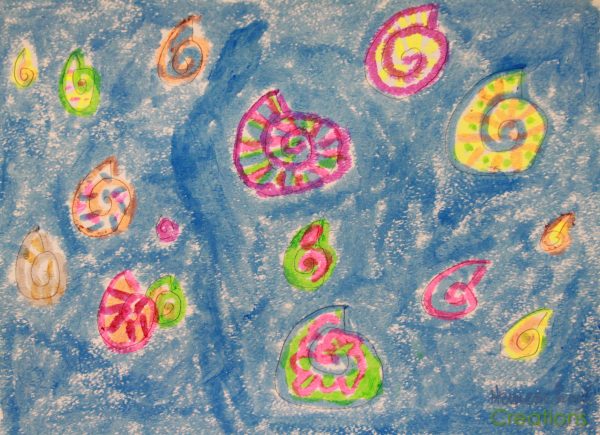
Kwik Stix Paints Review – Art Supplies Every Family Needs!

kwik-stix-tempera-paint-sticks-low-mess-and-fast-dry-painting-for-kids

There are some new art supplies in our house that everyone is in love with – Kwik Stix. The mom (and neat freak in me) is absolutely in love with these solid paint sticks and wishes we had them years ago!  All of the kids have had fun painting with them over the last few weeks and we would love to share more about them with you all as well. 

Disclaimer: I received these products in exchange for review on my blog. The opinions expressed on my site are my own, and were not influenced by the company or free product provided.

What Exactly Are Kwik Stix? 

kwik-stix-solid-tempera-paint-sticks-for-art

In short, Kwik Stix are quick and easy paints to use. Rather than pulling out brushes and lots of runny paint (or needing to mix up tempera paint from powder), Kwik Stix are solid tempera paint sticks that come in a tube similar to a glue stick. They come in a variety of colors too. We received packs of Kwik Stix Metalix, Kwik Stix Neon, and a Classic 12 pack of assorted Kwik Stix colors. 

kwik-stix-solid-tempera-paint-sticks-for-art-8

Honestly we weren’t sure what to expect at first, but the paint comes out incredibly smooth and dries right away (packaging says 90 seconds although we didn’t time it – it was quick). If the paint gets a little low, simply twist the bottom of the stick and more paint comes up from the tube. 

kwik-stix-solid-tempera-paint-sticks-for-art-6

Now I don’t know about your kids, but we have one (or two) that are a little bit particular when it comes to their painting endeavors. They don’t like mixing colors – and heaven forbid anything should smear! Kwik Stix were FABULOUS in this regard because they dried quickly and we could go from one color to the next without overlap or mixing. 

In addition no messes, I have to say that I absolutely love the lack of clean up on my part. Other than making sure caps are put back on each Kwik Stik, there was no paint on the table, hands, floor – or anywhere it shouldn’t be. While I do think various art mediums are good for kids to work with, these have definitely made their way into the ‘priority to use’ part of our supplies because of their simplicity of use. 

kwik-stix-solid-tempera-paint-sticks-for-art-7

We have loved these enough that I am planning to purchase a pack of the thin Kwik Stix for more detailed projects. Kaleb especially has loved these and they will work well with his art curriculum this year. Above is his finished Home Art Studio project that was done on watercolor paper using some of the neon and classic Kwik Stix. (See the video for a peek at him working on the project.)

If you have a local Target, they are now carrying Kwik Stik and you can also purchase them on Amazon. Definitely a ‘must add’ to your art supplies! 

Enter to Win a Kwik Stik Package

One of you will win a Kwik Stix package – the same sets we were sent to review: 12 pack, metalix, and neon! Enter to win using Rafflecopter below.  Open to US addresses only.  Giveaway ends November 20, 2016 at 11:59 pm.

Be sure to visit The Pencil Grip site and learn more about Kwik Stix through the following sites: 

Website:  http://www.thepencilgrip.com
Facebook:  https://www.facebook.com/thepencilgrip
Pinterest:  https://www.pinterest.com/KwikStixPaint/
Twitter:  https://twitter.com/ThePencilGrip

a Rafflecopter giveaway

Yarn Owl Craft Tutorial

yarn owl craft tutorial from Homeschool Creations


We have owls of all sizes in the works at the moment, because this yarn owl craft is just too cute!! We started out with one size of owls, but quickly ended up trying a few different sizes as well, especially when the googly eyes, felt, and yarn were in abundance!

The girls initially made something similar while we were camping, but we tweaked it to make it easier – and cuter!

Yarn Owl Craft Tutorial

Want to make one (or four) as well? I promise these are so very cute and will make some great decorations around the house. Picture a little owl family nestled in the corner of a bookcase…

Yarn Owl Craft tutorial {%{% Homeschool Creations 2015

Supplies needed:

  • felt: yellow, orange, brown (white optional)
  • Elmer’s glue
  • dark brown yarn – we chose a multi-colored version)
  • googly eyes
  • 2.5” Styrofoam balls (we also have 2” and 1.5” that we’re trying out)
  • scissors

Yarn Owl Craft tutorial {%{% Homeschool Creations 2015-2

Based on the size of your styrofoam ball, cut your felt to size: wings, feet, beak, and circles for around the eyes.

Yarn Owl Craft tutorial {%{% Homeschool Creations 2015-3

Lay them out – and start picturing how cute this little owl is going to be.

Yarn Owl Craft tutorial {%{% Homeschool Creations 2015-15

Use the scissors to shave a flat area onto the bottom part of the styrofoam ball (if you can figure out where the bottom is…). You’ll need this area to make the owl stand without rolling over.

Yarn Owl Craft tutorial {%{% Homeschool Creations 2015-4

Use glue to stick the feet onto the flat area of the styrofoam ball. Wait a few minutes to let the glue dry.

Yarn Owl Craft tutorial {%{% Homeschool Creations 2015-5

Apply a small circle of glue to the bottom area and being coiling the yarn in a circle.

Yarn Owl Craft tutorial {%{% Homeschool Creations 2015-6

Continue coiling and secure with a little glue. When you get closer to the top of the feet, begin wrapping the yarn around the opposite side of the felt feet, so you can wrap the yarn around the remainder of the styrofoam ball.

Yarn Owl Craft tutorial {%{% Homeschool Creations 2015-7

Secure with just a little bit more glue, but the styrofoam ball will hold the yarn well as you continue to wrap the yarn around the ball.

Yarn Owl Craft tutorial {%{% Homeschool Creations 2015-8

As you get closer to the top part of the ball where it gets smaller in size, use a little bit of glue to begin securing the yarn again.

Yarn Owl Craft tutorial {%{% Homeschool Creations 2015-9

Continue wrapping, watching for gaps in the yarn so you don’t see any of the styrofoam ball through the yarn.

Yarn Owl Craft tutorial {%{% Homeschool Creations 2015-10

Wrap some more.

Yarn Owl Craft tutorial {%{% Homeschool Creations 2015-11

Finish up the remainder of the coiling and wrapping, securing with glue until every area of the ball is covered.

Yarn Owl Craft tutorial {%{% Homeschool Creations 2015-12

Stand your little owl buddy up and prepare him/her for finishing.

Yarn Owl Craft tutorial {%{% Homeschool Creations 2015-13

Add your owl’s eyes, beak, and wings. and then pull out the rest of your supplies – because you are going to want to make more of these little cuties!

yarn owl craft tutorial from Homeschool Creations

Simple Pumpkin Crafts and Activities

It’s been several years since we first started these crafts and activities, but they are ones that we love and have made repeatedly – so I’m sure you’ll love them too! One will have your house smelly absolutely wonderful as little hands (and big ones) dig in. The other craft will leave you with some cute little pumpkins to decorate your home.

Pumpkin Pie Playdough Recipe

Pumpkin Pie Playdough recipe

While it may not be the most attractive looking of all playdoughs, this recipe is guaranteed to have your house smelling absolutely yummy in no time at all! We pulled out our pumpkin cookie cutters and the kids had a great time playing with this soft and pumpkin~spiced playdough.

You’ll Need:

~ 2 cups of flour {I had whole wheat on hand}
~ 1 cup salt
~ 4 tsp. cream of tartar
~ 1/4 cup cinnamon
~ 2 Tbsp. cloves
~ 2 Tbsp. nutmeg
~ 2 tsp. ginger
~ 2 cups water
~ 2 Tbsp. oil

pumpkin pie playdough

To Make:

1. Mix the flour, salt, cream of tartar, and spices together in a mixing bowl.

2. Add the water and oil to the dry ingredients and mix together well.

3. Transfer mixture to a medium sized saucepan and heat over medium heat, stirring constantly.

4. The dough will begin to thicken and form. When it becomes difficult to stir and is more solid, remove from heat and carefully knead the dough. {Note: dough will be hot!}

5. When dough has cooled, have fun playing. Store in the fridge to help the dough last longer ~ this is great for the holidays!!


Paper Strip Pumpkin Craft

 
preschool pumpkin craft


These little pumpkins are so super-easy to make and all of our kids enjoy making them to hang around our house!

Here’s what you’ll need:

  • Orange construction paper cut into 1" strips
  • 1" strip of brown construction paper
  • 2 leaves cut out of green construction paper
  • 2 brads
  • hole punch
preschool pumpkin craft


1. Stack the orange strips of paper together. Use a hole punch to put holes in the end of the strips. Depending on how many strips you are trying to punch through, you many need to do it a few pieces at a time.

2. Take one brad, poke it through the hole, and fasten the strips together.

 
preschool pumpkin craft


3. Fold the brown strip in half {for the stem} and use the hole punch to punch through the stem, leaves, and the strips on the opposite end. Push another brad through and fasten.

 
preschool pumpkin craft


4. Spread or ‘fluff’ out the paper strips until it forms a round pumpkin shape. Hang and enjoy!

preschool pumpkin craft


What are your favorite pumpkin crafts and activities? Leave a link and share!

Shark Chalk Pastels and a FREE Video Tutorial

Working with chalk pastels is one of our favorite mediums to create fun artwork. The pastels are very easy to work with, can be inexpensive if you are just starting out, and are so forgiving – something great for younger children. They are, however, a wee bit messy (a plus according to several of my children).

Shark Art Tutorials

This past week, we started working on some shark chalk pastels so we had a few art projects ready to hang before we started school. One of our favorite blogs for pastel chalk art tutorials, Hodge Podge, has a great shark chalk pastel tutorial that she is offering and also has a new Sharks Chalk Pastel Art ebook with more chalk pastels to celebrate Shark Week. While we don’t have cable tv, our kids have enjoyed watching Shark Week episodes via Netflix.

(Incidentally, I wouldn’t recommend watching any of them before a trip to the beach just in case you have a child that may then view every ocean shadow as a potential shark and scare everyone in a 1/4 mile radius. Not that we have experience with THAT or anything).

Shark Chalk Pastels art time-1

Before we left for camping this past weekend, I printed out the Sharks Chalk Pastel Art ebook (realizing later that I could have easily loaded it on my iPad, but oh well).

Shark Chalk Pastels art time-2

Everyone  flipped through and picked a project to work on. By the way, chalk pastels and the paper were so easy to pack up to take along! For this project we used a set of Artist Loft chalk pastels that I picked up at Michaels for $5. We have another set at home that is a little better quality, but these worked great too!

A Peek at Our Shark Chalk Pastel Projects

Shark Chalk Pastels art time-6

McKenna chose to work on a night shark tutorial. All of our kids love it when they get to the smudging part of chalk pastels.

Shark Chalk Pastels art time-7

McKenna’s finished Night Shark pastel (age 11)

Shark Chalk Pastels art time-11

Laurianna chose to create a Great Hammerhead shark. She thought it would be a little more challenging with some of the shadowing.

Shark Chalk Pastels art time-17

Laurianna’s finished Great Hammerhead pastel (age 13)


Shark Chalk Pastels art time-9

Kaleb also tried his hand at a Night Shark. Of all our kids, he tends to be the one that leans toward everything being ‘just right’, so pastels are one of our favorite art projects for him since it allows some fudging and smudging.

Shark Chalk Pastels art time-12

Kaleb’s Night Shark pastel (age 7)


Watch a FREE Shark Chalk Pastel Tutorial


Hodge Podge has put together a YouTube video tutorial to share and it is a great way to check out her tutorials for yourself (feed subscribers can view the video here).

Resources for Chalk Pastel Art

Amazon Animals Chalk Pastel

Here are a few projects we’ve worked on using chalk pastels and also a few resources in case you would like to work on one with your family.

DIY Paper Star Craft

The following post is a guest post from my daughter Laurianna. One of her writing assignments this year was to explain a process,  so her mother is taking full advantage and having her turn it into a blog post for extra credit. These paper stars have been showing up in one form or another over the last few months, so she is glad to have an excuse to make more!

How to Make a Paper Star Tutorial from homeschoolcreations.net


Paper stars are a simple craft activity that will add color to a room. It is also a great way to keep kids busy and use up any extra scrapbook paper you may have on hand.

Supplies for a Paper Star Craft:

The following supplies will be needed for each star that is made. To make a smaller size, adjust the paper size accordingly, keeping the paper size square. How to Make a Paper Star Tutorial from homeschoolcreations.net-1

How to Make a Paper Star

Paper Star Tutorial folding directions from homeschoolcreations.net

Pick out two pieces of 12” x 12” patterned paper, and set one aside. Fold the first piece horizontally with the patterned side facing in, both ways (see picture 1) and then unfold. Next fold the paper diagonally with the patterned side facing out and crease in both directions (see picture 2). Paper Star Tutorial Cutting Steps from homeschoolcreations.net

Cut the paper about 2.5” toward the center of the paper, following the horizontal creases (see picture 3). Then fold the corners into the diagonal creases (picture 4), making the edges touch. Repeat on all points until the paper resembles picture 5. If you accidentally cut too far toward the center, use scotch tape to fix it (see picture 6).

Paper Star Tutorial Gluing Instructions from homeschoolcreations.net

Apply the tacky glue in a triangular shape on the right flap of each point (picture 7). Overlap the left side onto the right side with the glue (picture 8)and hold together for about 30 seconds to allow the glue to set (picture 9). Grab the other sheet of 12” x 12” paper and repeat the above steps to make a second half star.

Paper Star Tutorial Threading from homeschoolcreations.net

In order to hang the star, tie the piece of string to a small pony bead (picture 10). Thread the opposite end of the string through the yarn needle (picture11) and push the needle through one of the points on the star (picture 12). 

Paper Star Tutorial final step from homeschoolcreations.net

The star is almost complete! Apply the tacky glue to the bottom corners of one half of the star (picture 13). Lay the other half of the star on top so the points alternate, and press firmly to allow the glue to set. Hang and enjoy your beautiful paper star!  

Disclaimer :: As a mom I am 100% milking this writing assignment for all it is worth. Some of the WriteShop Basic assignment was altered to make it a better fit as a blog post, but extra credit was given since it technically meant Laurianna had to rewrite parts of it. All enjoyment for working on crafts as part of a writing assignment is purely coincidental and results may vary in your home – grins.